Open Syncfusion Chromeless Window
I want to:
-
Create WPF Prism Application Project
-
Add Synchfusion Chromeless window
Demo Video
Below 🎬 video shows how to Open Syncfusion Chromeless Window in Visual Studio 2022.
Open Syncfusion Chromeless Window
Create Project
-
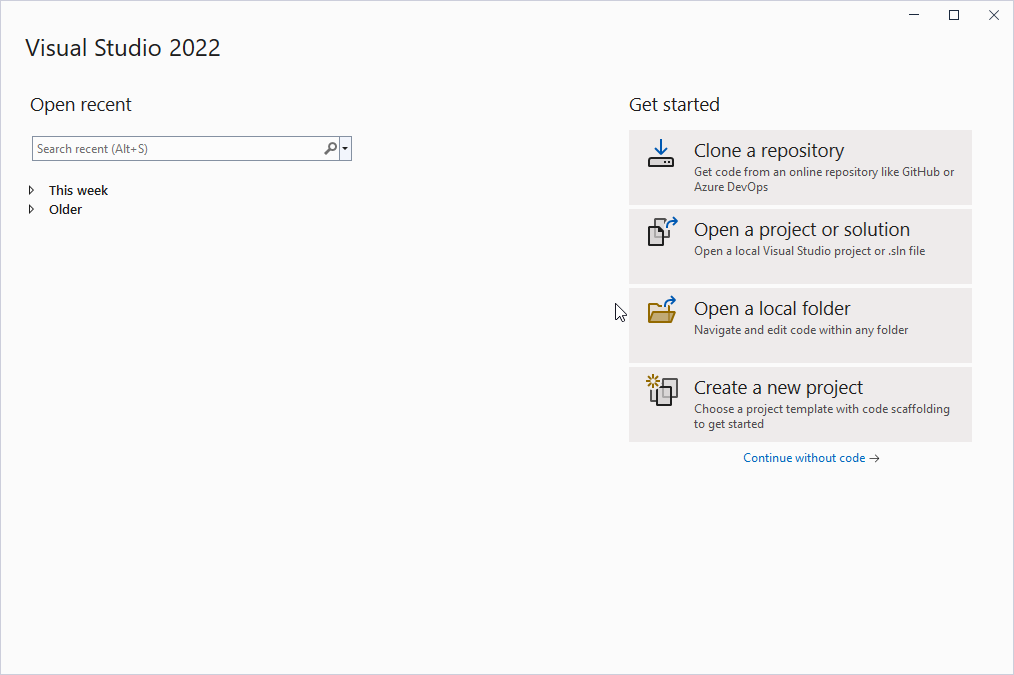
Open Visual Studio 2022 in your machine.
-
You will see a window as shown in below 👇🏻 image.
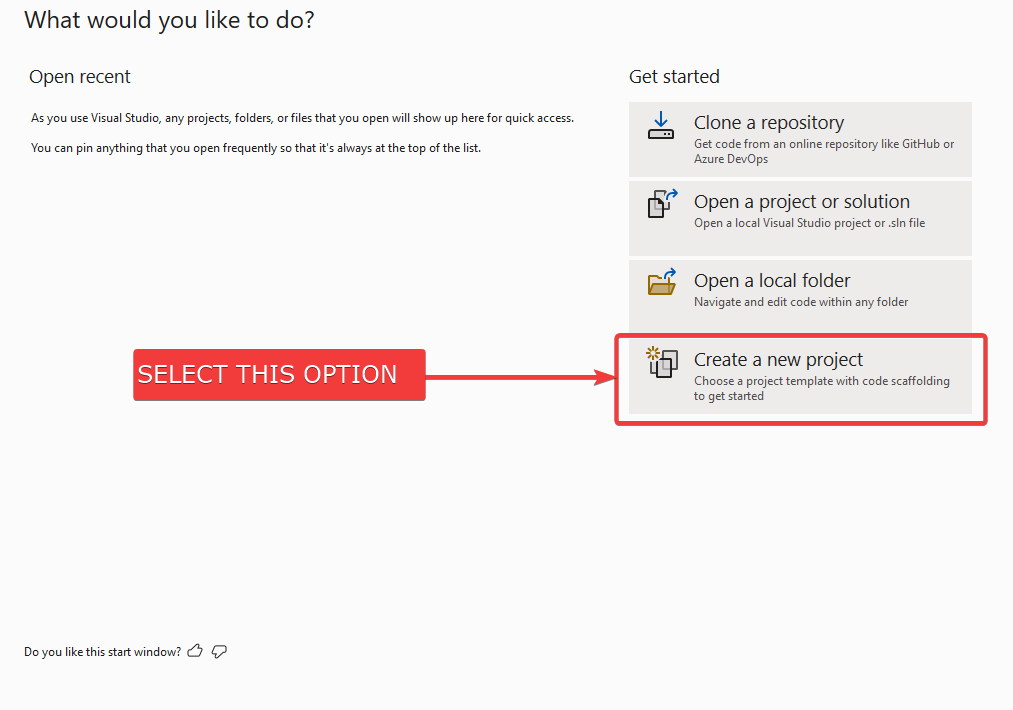
- Select “Create a new project” option as shown in below 👇🏻 image.
- This will open a new screen as shown in below 👇🏻 image.
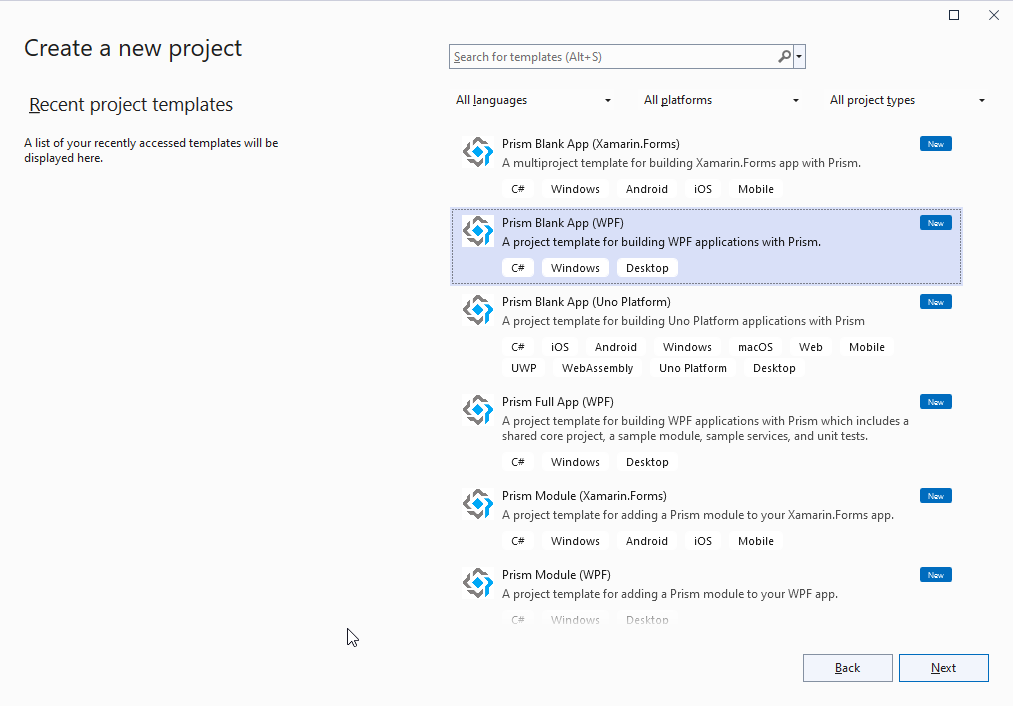
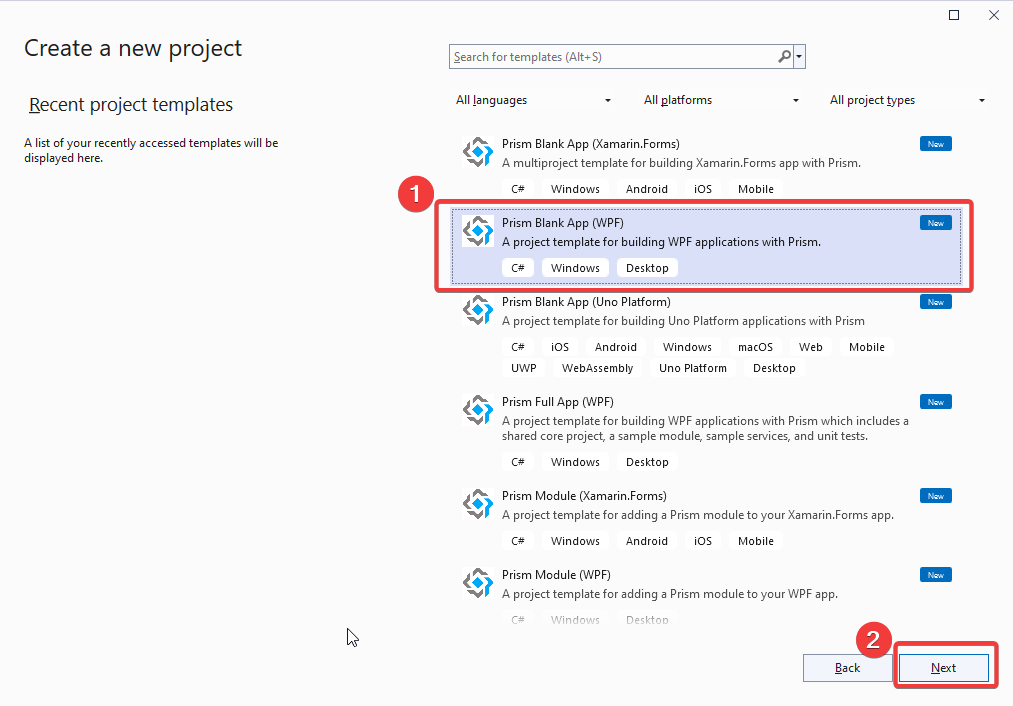
- In this screen, select “Prism Blank App (WPF)” project type then select “Next” button as shown in below 👇🏻 image.
- Now you will have below screen, where we need to configure our project as shown in below 👇🏻 image.
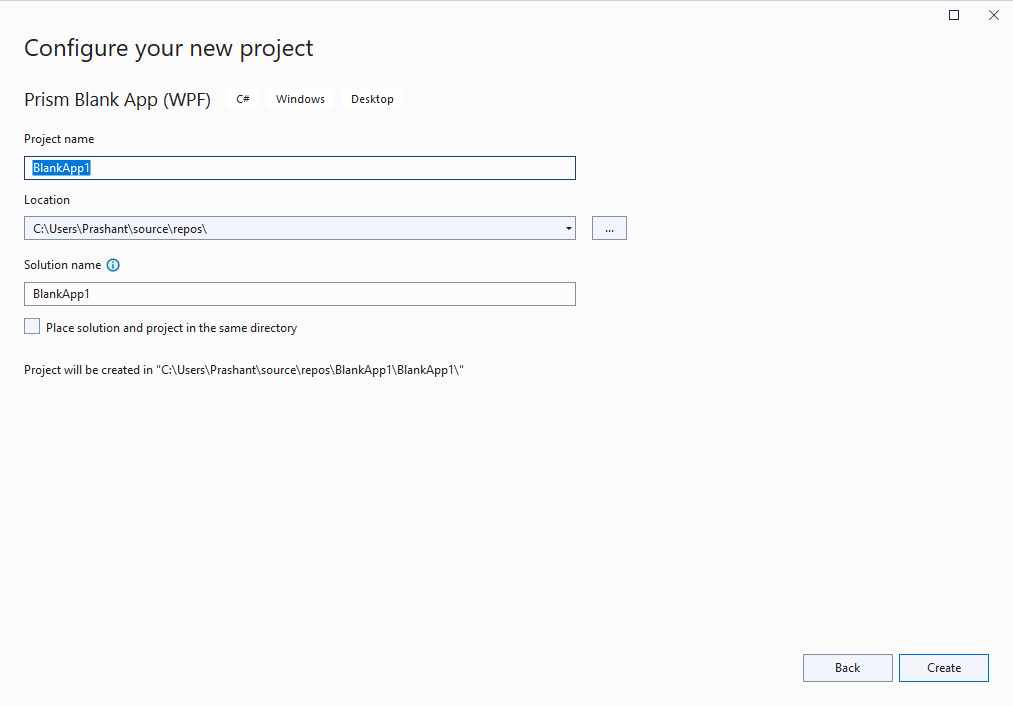
-
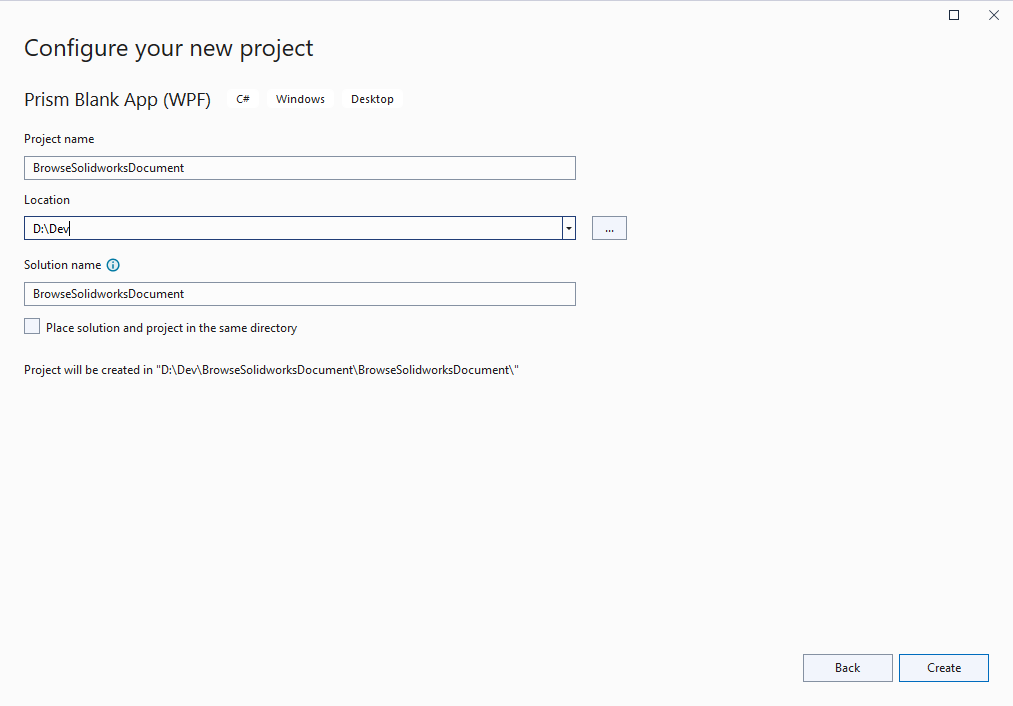
In this screen I use following values shown in below 👇🏻 image.
- Project Name: “BrowseSolidworksDocument”
- Location: “
D:\Dev” - Solution Name: “BrowseSolidworksDocument”
-
When select “Next”, a new screen shows, selecting dependency injection container for project to use.
- Selected Option: “Unity”

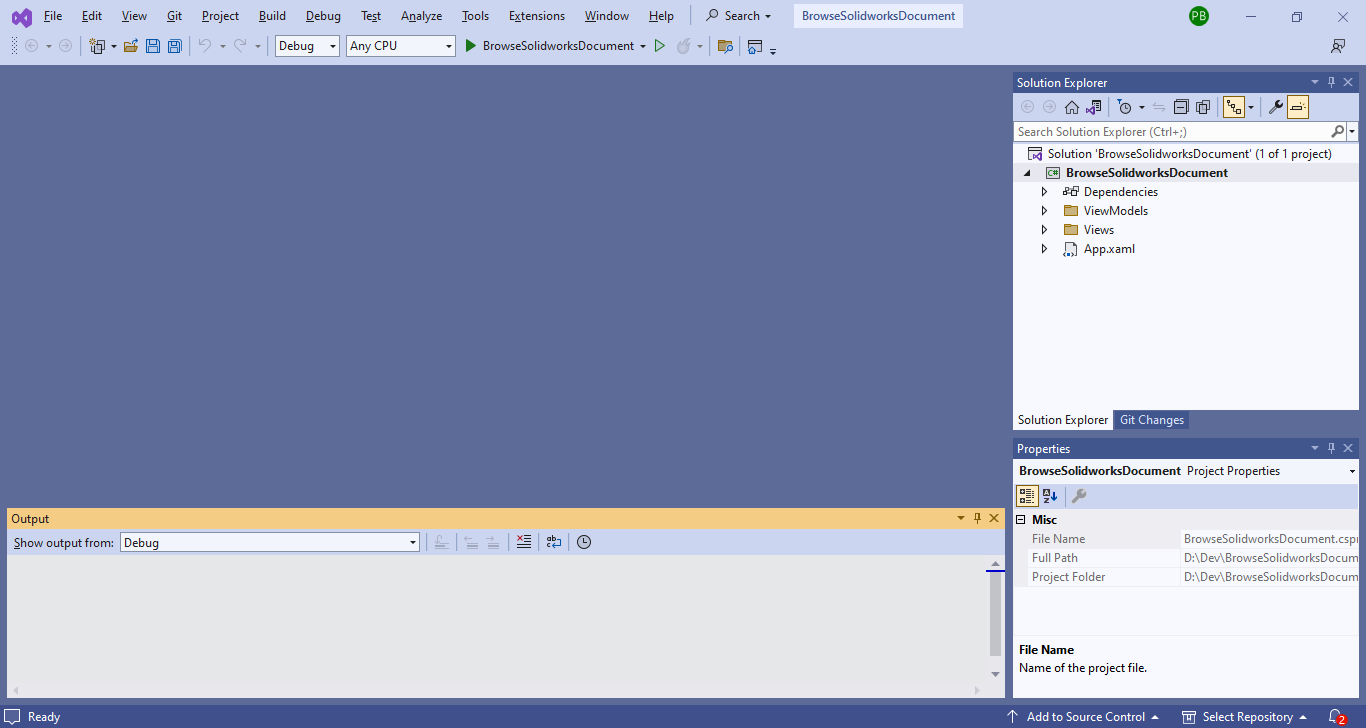
- A new project open in visual studio 2022 as shown in below 👇🏻 image.
Add Syncfusion Chromeless Window
In this section we add Syncfusion Chromeless Window.
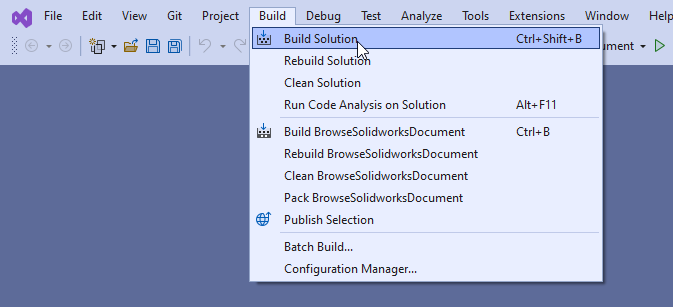
- Build the project as shown in below 👇🏻 image.
- Open “NuGet Package” window as shown in below 👇🏻 image.
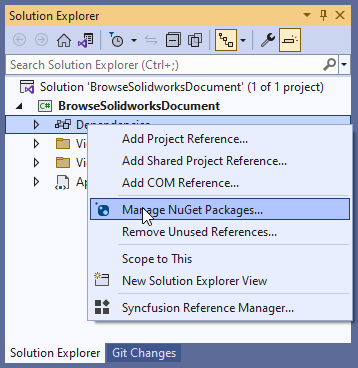
- “NuGet Package” window will appear as shown in below 👇🏻 image.
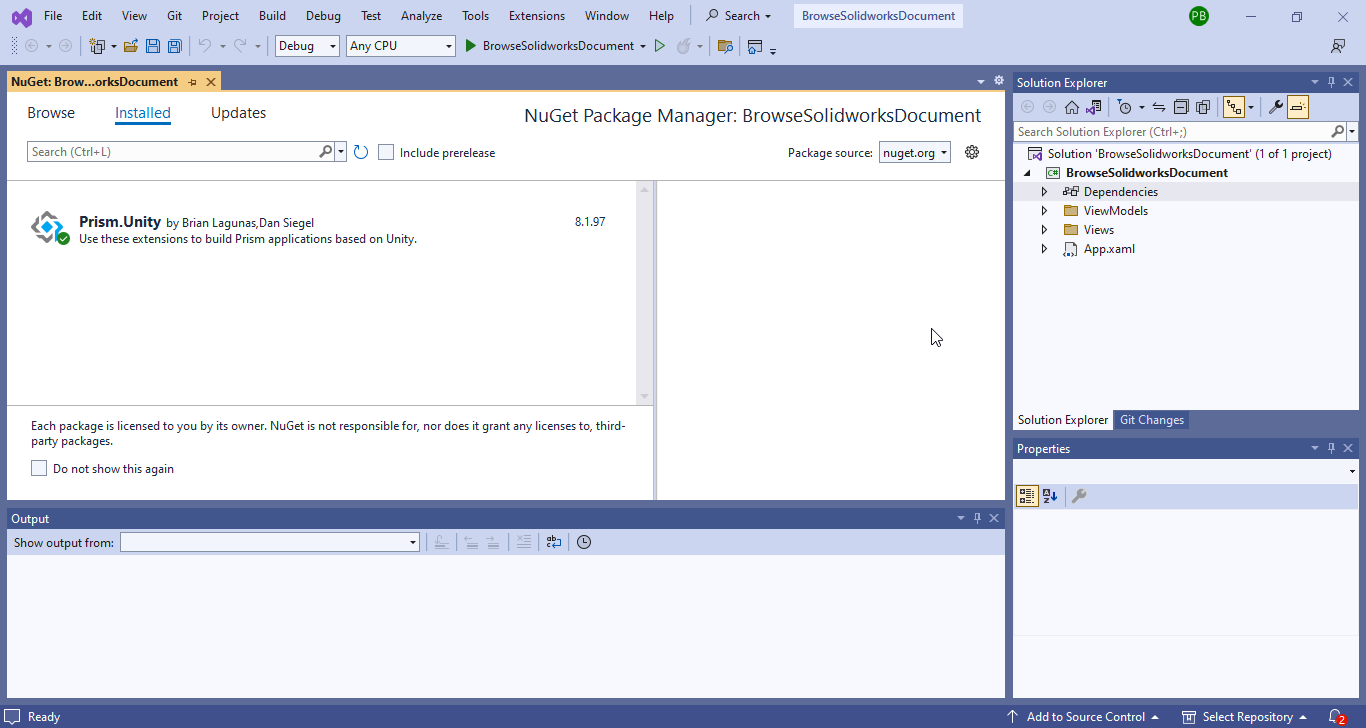
- In “NuGet Package” window, go to “Browse” tab and search for
Syncfusion.Shared.WPFthen install it as shown in below 👇🏻 image.
- Now open “
MainWindow.xaml” file as shown in below 👇🏻 image.
- In “
MainWindow.xaml” file add namespace as shown in below 👇🏻 image.
- Change “Window” with “ChromelessWindow” as shown in below 👇🏻 image.

Final Result
Now we run the application as shown in below 👇🏻 image.
We get a message related to Syncfusion License, just do as shown in below image.
This is it !!!
I hope my efforts will helpful to someone!
If you found anything to add or update, please let me know on my e-mail.
Hope this post helps you to Open Syncfusion Chromeless Window.
If you like the post then please share it with your friends also.
Do let me know by you like this post or not!
Till then, Happy learning!!!