Add Syncfusion Busy Indicator
I want to:
-
Add Syncfusion Busy Indicator
-
Use Syncfusion Busy Indicator, for Long operation
We will continue from previous article 🚀 Open Syncfusion Chromeless Window .
Add new controls to previous code.
Demo Video
Below 🎬 video shows how to Add Syncfusion Busy Indicator in Visual Studio 2022.
Add Syncfusion Busy Indicator
Add Syncfusion Busy Indicator
In this section we add Busy Indicator Window.
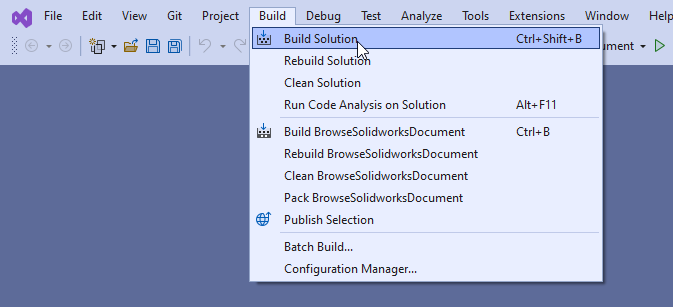
- Build the project as shown in below 👇🏻 image.
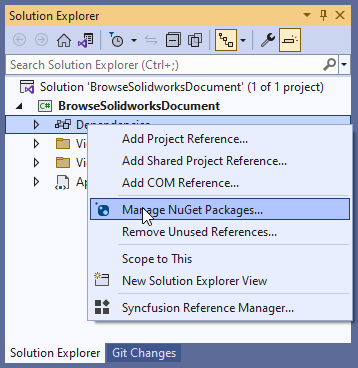
- Open “NuGet Package” window as shown in below 👇🏻 image.
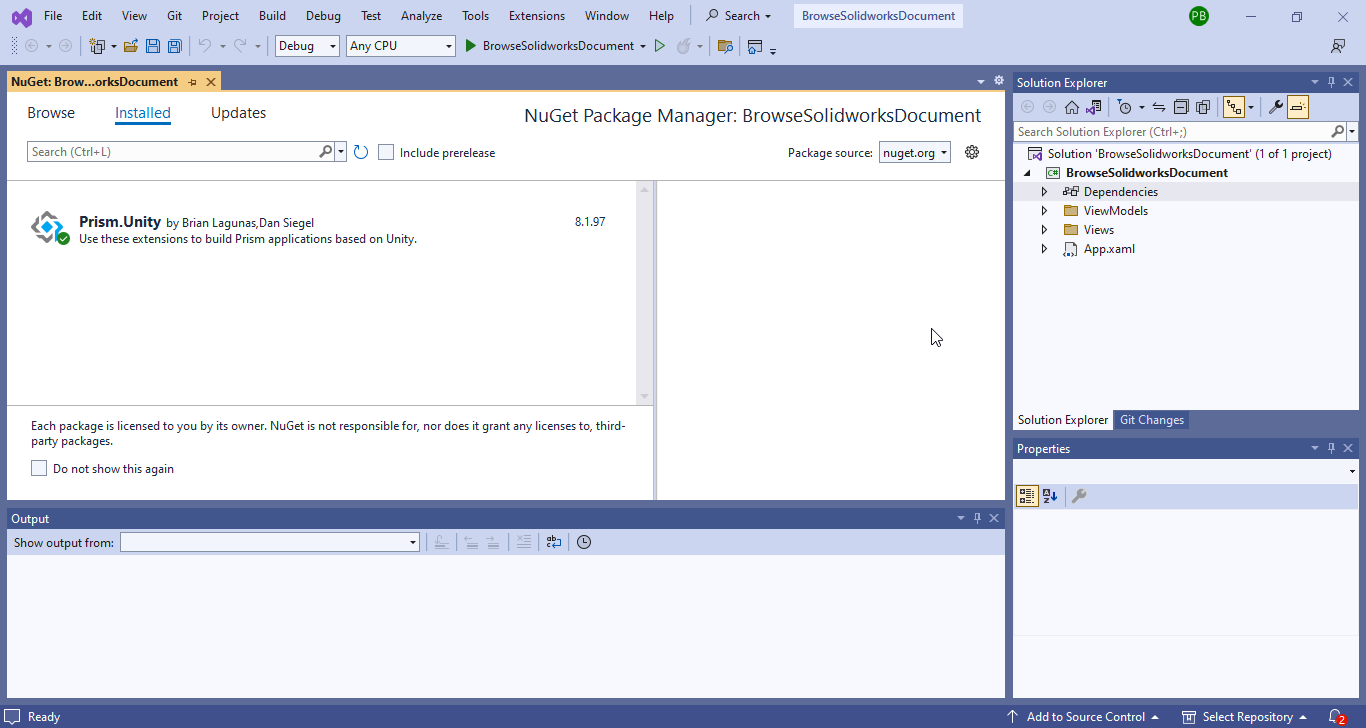
- “NuGet Package” window will appear as shown in below 👇🏻 image.
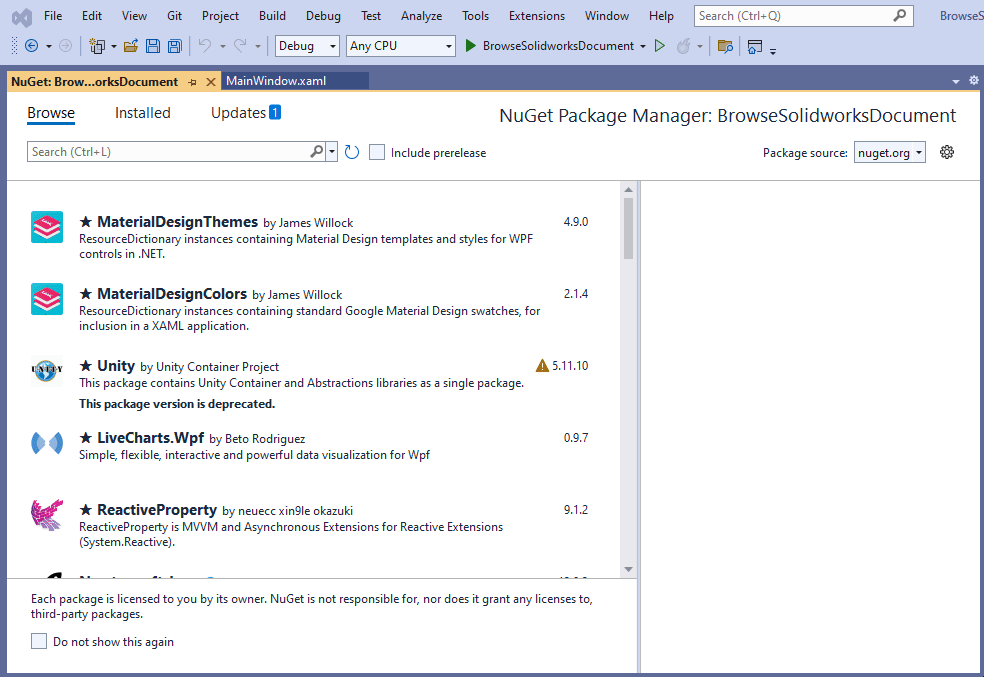
- In “NuGet Package” window, go to “Browse” tab and search for
Syncfusion.SfBusyIndicator.WPFthen install it as shown in below 👇🏻 image.
- Now open “
MainWindow.xaml” file as shown in below 👇🏻 image.
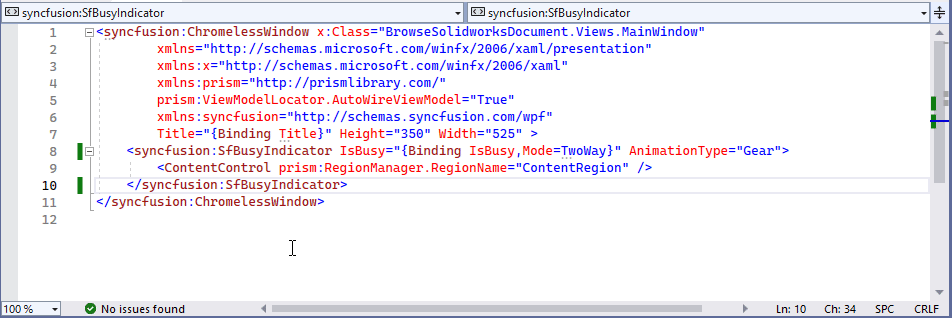
- Change “
MainWindow.xaml” file as shown in below 👇🏻 image.
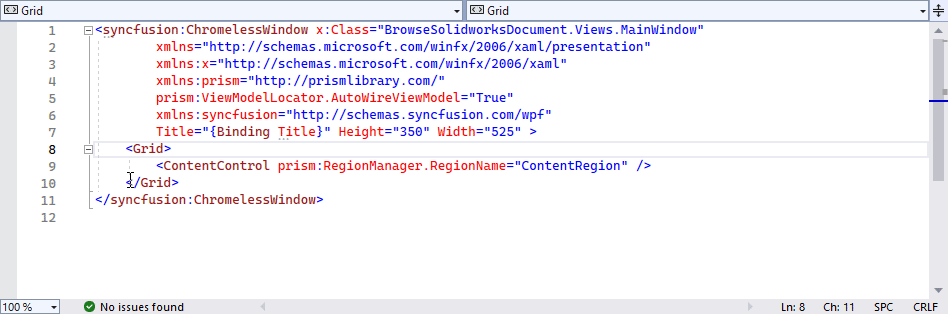
Please see below 👇🏻 code.
<syncfusion:SfBusyIndicator IsBusy="{Binding IsBusy,Mode=TwoWay}" AnimationType="Gear">
    <ContentControl prism:RegionManager.RegionName="ContentRegion" />
</syncfusion:SfBusyIndicator>
markdown Copy code
- Add
Buttonelement with binding command and properties as shown in below 👇🏻 image.
<Button Content="{Binding ButtonContent}"
        Height="50" Width="300"
        Command="{Binding ClickCommand}" />
Add Binding Properties And Command
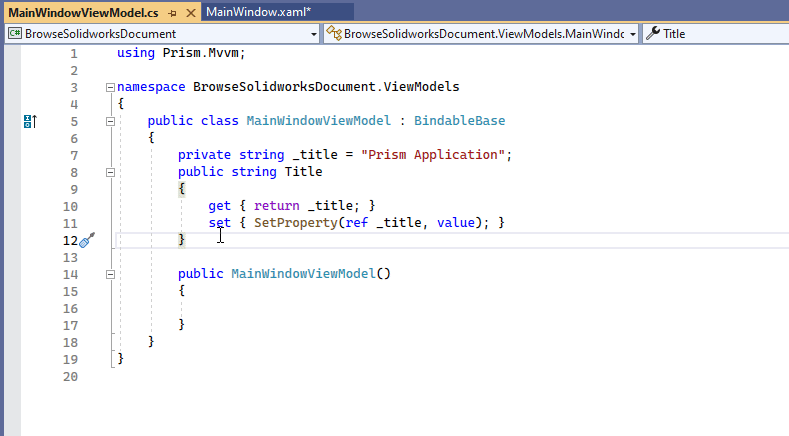
- Open “
MainWindowViewModel.cs” file as shown in below 👇🏻 image.
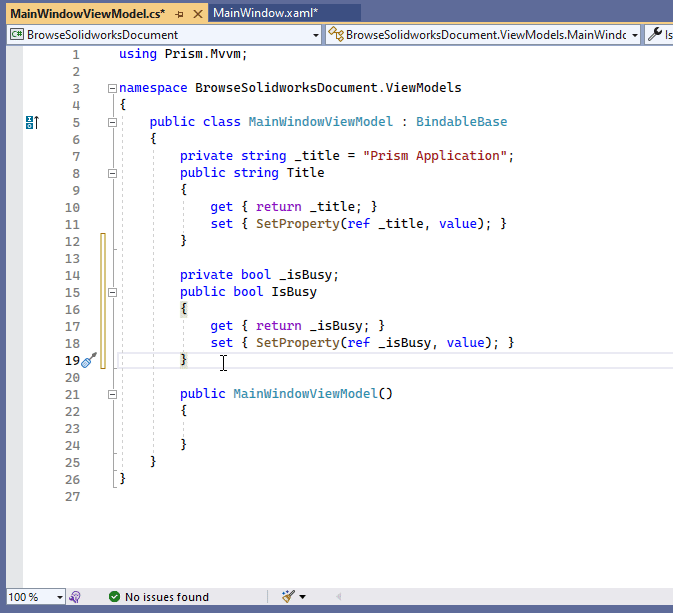
- Add
IsBusyProperty as shown in below 👇🏻 image.
private bool _isBusy;
public bool IsBusy
{
    get { return _isBusy; }
    set { SetProperty(ref _isBusy, value); }
}
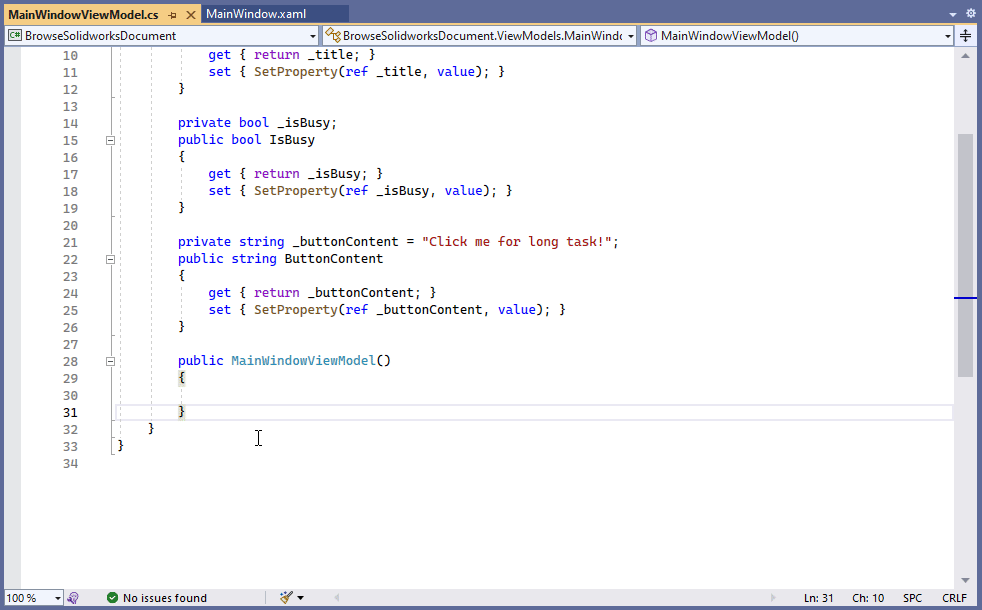
- Add
ButtonContentProperty as shown in below 👇🏻 image.
private string _buttonContent;
public string ButtonContent
{
    get { return _buttonContent; }
    set { SetProperty(ref _buttonContent, value); }
}
- Set value of
_buttonContentfield as shown in below 👇🏻 image.

private string _buttonContent = "Click me for long task!";
public string ButtonContent
{
    get { return _buttonContent; }
    set { SetProperty(ref _buttonContent, value); }
}
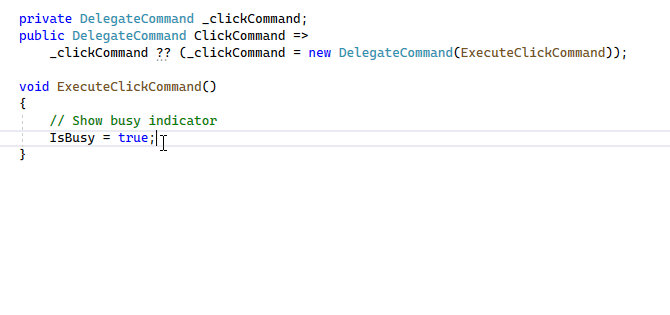
- Add
ClickCommandPrism Command as shown in below 👇🏻 image.
private DelegateCommand _clickCommand;
public DelegateCommand ClickCommand =>
    _clickCommand ?? (_clickCommand = new DelegateCommand(ExecuteClickCommand));

void ExecuteClickCommand()
{

}
Click Command Statements
Now we add following statements to click command.
-
First we set the value of
IsBusyproperty totrue. -
This means we want to show Busy Indicator.
-
Please add below code as shown below 👇🏻.
void ExecuteClickCommand()
{
    // Show busy indicator
    IsBusy = true;
}
-
Next we run a new
Thread. -
This
Thread, imitate a long task. -
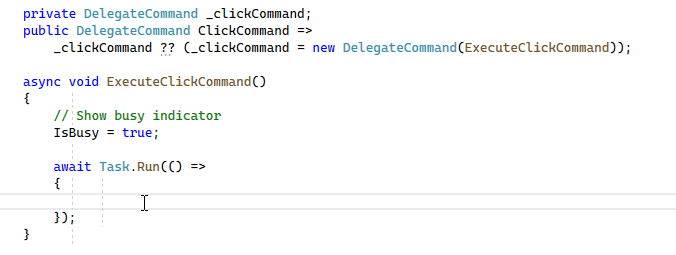
Add new
Threadas shown in below 👇🏻 image.
- Please add below code as shown below 👇🏻.
async void ExecuteClickCommand()
{
    // Show busy indicator
    IsBusy = true;

    await Task.Run(() =>
    {

    });
}
-
In above code, we use
asyncandawaitkeywords. -
These keywords, help us to do asynchronous programming.
-
This
Task.Run()method, run a newThreadand free UI thread. -
This
awaitkeyword, watch if thisTaskis completed or not. -
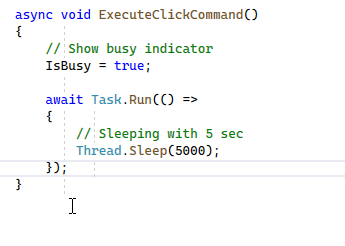
Now we add statement to make new Thread sleep for 5 sec.
-
To sleep new
Thread, add code as shown in below 👇🏻 image.
async void ExecuteClickCommand()
{
    // Show busy indicator
    IsBusy = true;

    await Task.Run(() =>
    {
        // Sleeping with 5 sec
        Thread.Sleep(5000);
    });
}
- Lastly, we set the value of
IsBusyproperty tofalseas shown in below 👇🏻 image.
-
This means we want to hide Busy Indicator.
-
Please add below code as shown below 👇🏻.
async void ExecuteClickCommand()
{
    // Show busy indicator
    IsBusy = true;

    await Task.Run(() =>
    {
        // Sleeping with 5 sec
        Thread.Sleep(5000);
    });

    // Hide busy indicator
    IsBusy = false;
}
Final Result
Now we run the application as shown in below 👇🏻 image.
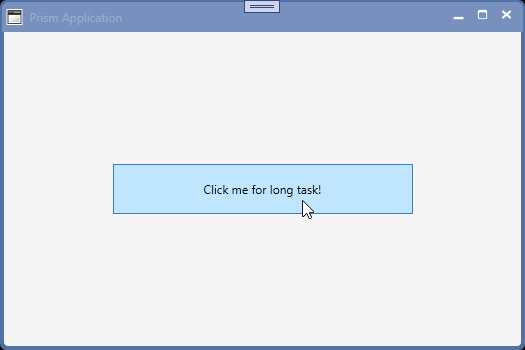
Until the Thread is sleeping we able to see Busy indicator to show user that some operation is running.
Until the operation complete, we see this Busy indicator.
This is it !!!
I hope my efforts will helpful to someone!
If you found anything to add or update, please let me know on my e-mail.
Hope this post helps you to Add Syncfusion Busy Indicator.
If you like the post then please share it with your friends also.
Do let me know by you like this post or not!
Till then, Happy learning!!!