Create Line UI - Part 2
Objective
In this article we continued from 🚀 Create Line UI - Part 1 article.
We will create remaining UI controls and bindings with viewmodels.
Demo Video
Below 🎬 video shows how to Create Line UI Part 2 in Visual Studio 2022.
Update [MainWindowViewModel]
-
Now we need to “add Properties and Methods” for “Binding” with our view.
- View:
MainWindow - ViewModel:
MainWindowViewModel
- View:
Add [Properties]
Now we need to add 2 properties for Start Point and End Point.
- Please see below 👇🏻 image for reference.
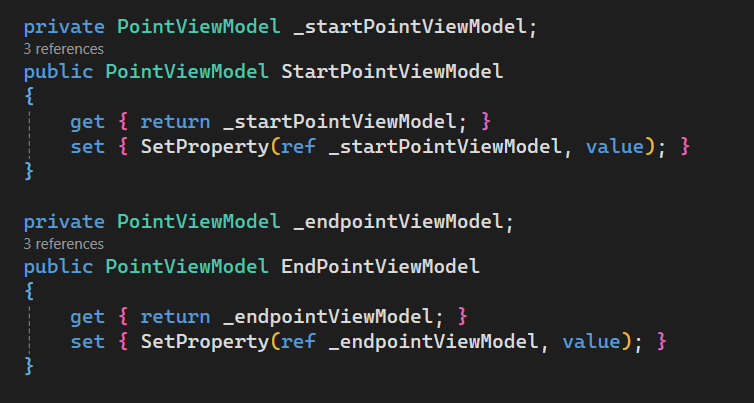
- Please see below 👇🏻 code sample for reference.
private PointViewModel _startPointViewModel;
public PointViewModel StartPointViewModel
{
    get { return _startPointViewModel; }
    set { SetProperty(ref _startPointViewModel, value); }
}

private PointViewModel _endpointViewModel;
public PointViewModel EndPointViewModel
{
    get { return _endpointViewModel; }
    set { SetProperty(ref _endpointViewModel, value); }
}
Update Constructor
Now we need to update Constructor, so that we can resolve [StartPointViewModel] and [EndPointViewModel] properties through DI Container.
-
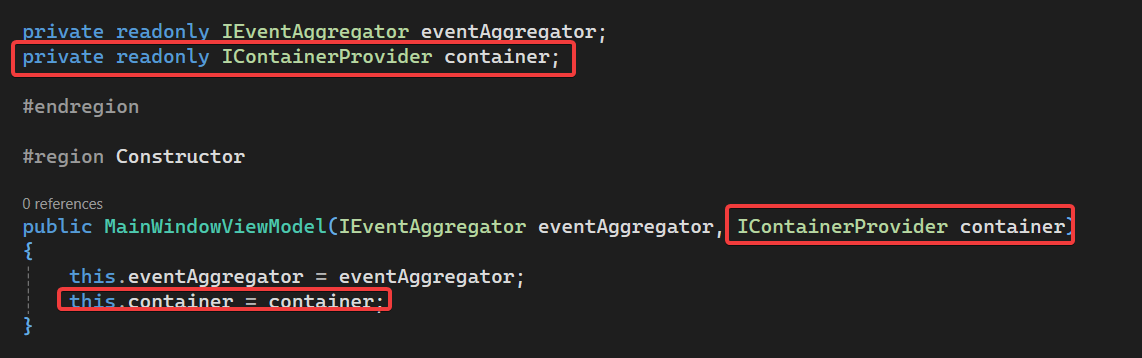
First, we need to add a parameter to constructor and then assign it to a private field.
-
Please see below 👇🏻 image for reference.
- Please see below 👇🏻 code sample for reference.
private readonly IEventAggregator eventAggregator;
private readonly IContainerProvider container;

public MainWindowViewModel(IEventAggregator eventAggregator, IContainerProvider container)
{
    this.eventAggregator = eventAggregator;
    this.container = container;
}
-
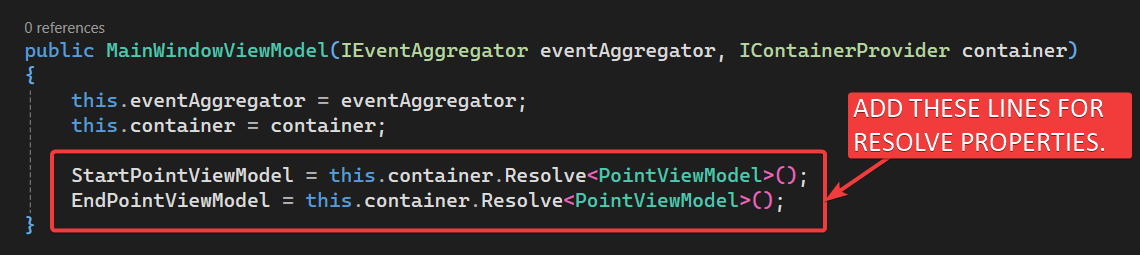
Now, we need to set resolve value of [
StartPointViewModel] and [EndPointViewModel] properties through DI Container. -
We resolve values in “Constructor”.
-
Please see below 👇🏻 image for reference.
- Please see below 👇🏻 code sample for reference.
public MainWindowViewModel(IEventAggregator eventAggregator, IContainerProvider container)
{
    this.eventAggregator = eventAggregator;
    this.container = container;

    StartPointViewModel = this.container.Resolve<PointViewModel>();
    EndPointViewModel = this.container.Resolve<PointViewModel>();
}
Add [Prism Command]
-
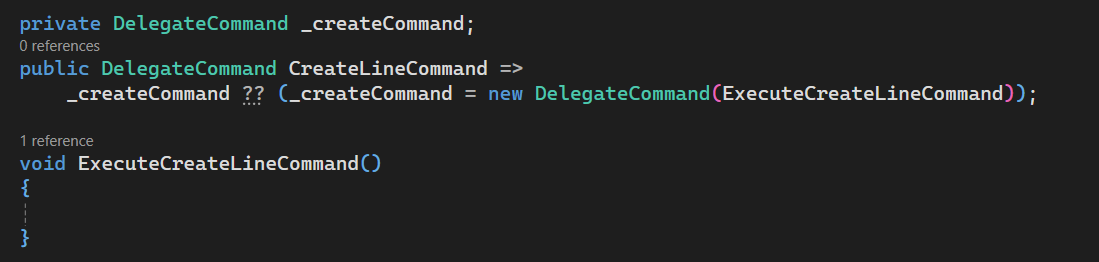
We need 1 Prism Command for Create Line Sketch Button.
-
This command will be responsible for Create Line Sketch in Solidworks Part Document.
-
Please see below 👇🏻 code sample for adding “Prism Command” in
MainWindowViewModel.
private DelegateCommand _createCommand;

public DelegateCommand CreateLineCommand =>
    _createCommand ?? (_createCommand = new DelegateCommand(ExecuteCreateLineCommand));

void ExecuteCreateLineCommand()
{

}
- Please see below 👇🏻 image for adding “Prism Command” in
MainWindowViewModel.
Add Code To Function
-
Now we will add some code
ExecuteCreateLineCommandfunction. -
We already used this code for in various articles.
-
Please see below 👇🏻 code sample for waiting code to add.
private DelegateCommand _createCommand;
public DelegateCommand CreateLineCommand =>
_createCommand ?? (_createCommand = new DelegateCommand(ExecuteCreateLineCommand));
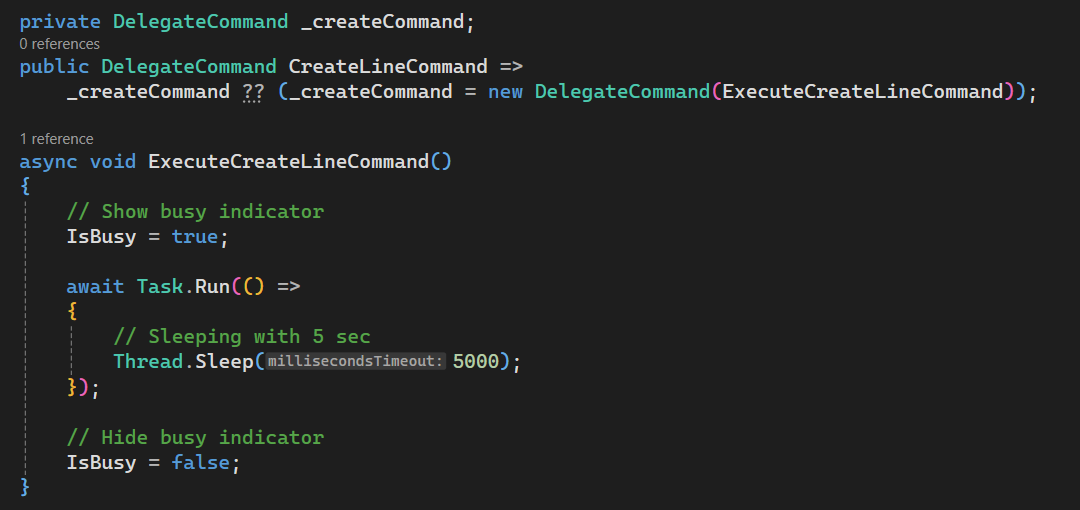
async void ExecuteCreateLineCommand()
{
// Show busy indicator
IsBusy = true;
await Task.Run(() =>
{
// Sleeping with 5 sec
Thread.Sleep(5000);
});
// Hide busy indicator
IsBusy = false;
}
- Please see below 👇🏻 image for waiting code to add.
Update View [MainWindow]
Now we need to update a [MainWindow] window.
Add [ViewModel] Namespace
Now we need to add [ViewModel] Namespace in <syncfusion:ChromelessWindow> tag.
- Please see below 👇🏻 image for reference.
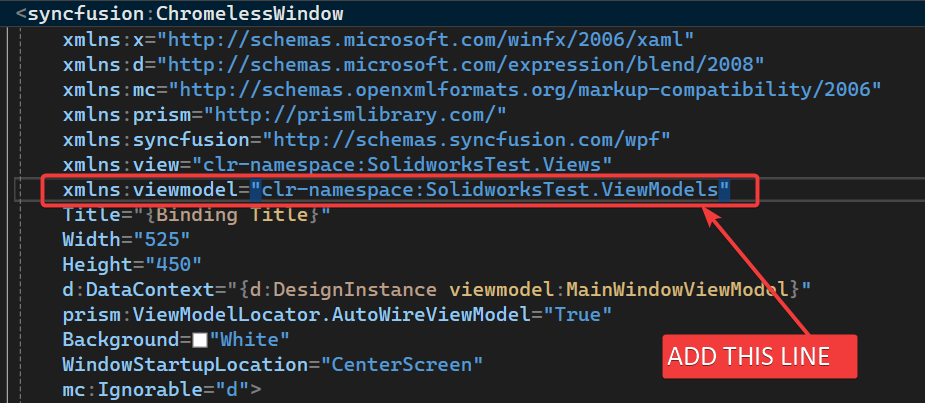
- Please see below 👇🏻 code sample for reference.
<syncfusion:ChromelessWindow
    x:Class="SolidworksTest.Views.MainWindow"
    xmlns="http://schemas.microsoft.com/winfx/2006/xaml/presentation"
    xmlns:x="http://schemas.microsoft.com/winfx/2006/xaml"
    xmlns:d="http://schemas.microsoft.com/expression/blend/2008"
    xmlns:mc="http://schemas.openxmlformats.org/markup-compatibility/2006"
    xmlns:prism="http://prismlibrary.com/"
    xmlns:syncfusion="http://schemas.syncfusion.com/wpf"
    xmlns:view="clr-namespace:SolidworksTest.Views"
    xmlns:viewmodel="clr-namespace:SolidworksTest.ViewModels"
    Title="{Binding Title}"
    Width="525"
    Height="450"
    d:DataContext="{d:DesignInstance viewmodel:MainWindowViewModel}"
    prism:ViewModelLocator.AutoWireViewModel="True"
    Background="White"
    WindowStartupLocation="CenterScreen"
    mc:Ignorable="d">
Add [Start Point] View
-
Now we need to add [Start Point View].
-
Add
<StackPanel>tag.
<StackPanel>

</StackPanel>
Inside this <StackPanel> tag, we add <view:PointView></view:PointView> tag.
- Please see below 👇🏻 image for reference.
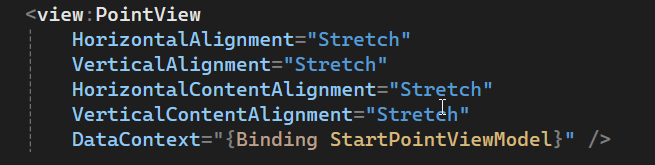
- Please see below 👇🏻 code sample for reference.
<view:PointView
    HorizontalAlignment="Stretch"
    VerticalAlignment="Stretch"
    HorizontalContentAlignment="Stretch"
    VerticalContentAlignment="Stretch"
    DataContext="{Binding StartPointViewModel}" />
- Above view bind [
DataContext] property of [view:PointView] withStartPointViewModelproperty of [MainWindowViewModel].
Add [End Point] View
- Now we need to add [End Point View].
Inside <StackPanel> tag, we add <view:PointView></view:PointView> tag.
- Please see below 👇🏻 image for reference.
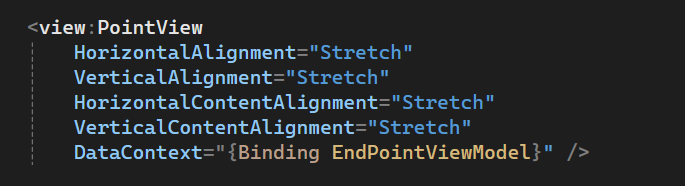
- Please see below 👇🏻 code sample for reference.
<view:PointView
    HorizontalAlignment="Stretch"
    VerticalAlignment="Stretch"
    HorizontalContentAlignment="Stretch"
    VerticalContentAlignment="Stretch"
    DataContext="{Binding EndPointViewModel}" />
- Above view bind [
DataContext] property of [view:PointView] withEndPointViewModelproperty of [MainWindowViewModel].
Add [Create Line] Button
- Now we need to add [Create Line] Button.
Inside <StackPanel> tag, we add <syncfusion:ButtonAdv></syncfusion:ButtonAdv> tag.
- Please see below 👇🏻 image for reference.
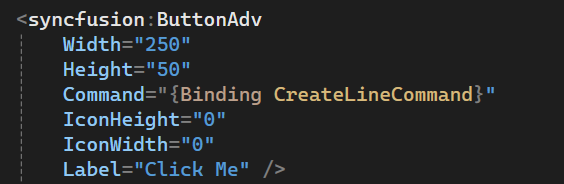
- Please see below 👇🏻 code sample for reference.
<syncfusion:ButtonAdv
    Width="250"
    Height="50"
    Command="{Binding CreateLineCommand}"
    IconHeight="0"
    IconWidth="0"
    Label="Click Me" />
- Above view bind [
Command] property of [syncfusion:ButtonAdv] withCreateLineCommandproperty of [MainWindowViewModel].
Final Result
Now we run the application as shown in below 👇🏻 image.
Now we are able to Creale Line in Solidworks Sketch in MVVM pattern successfully.
This is it !!!
I hope my efforts will helpful to someone!
If you found anything to add or update, please let me know on my e-mail.
Hope this post helps you to Creale Line in Solidworks Sketch in WPF application.
If you like the post then please share it with your friends also.
Do let me know by you like this post or not!
Till then, Happy learning!!!