SOLIDWORKS C# API - Open SOLIDWORKS
OBJECTIVE
How to Open SOLIDWORKS using SOLIDWORKS C# API from WPF Prism Desktop Application.
I hope you have installed Visual Studio Community Edition on your machine.
If not then please go to 🚀 SOLIDWORKS C# API - Prerequisite post and watch the suggested videos before proceeding further.
DEMO VIDEO
Please see below video on how to Open SOLIDWORKS using SOLIDWORKS C# API from WPF Prism Desktop Application.
Please note that there are no explanation in the video.
Explanation of each step/line and why we write code this way is given in this post.
CREATE A NEW PRISM PROJECT
In the below image I have shown you how to create a new Prism Template project.
For creating a new Prism Project follow these steps:
-
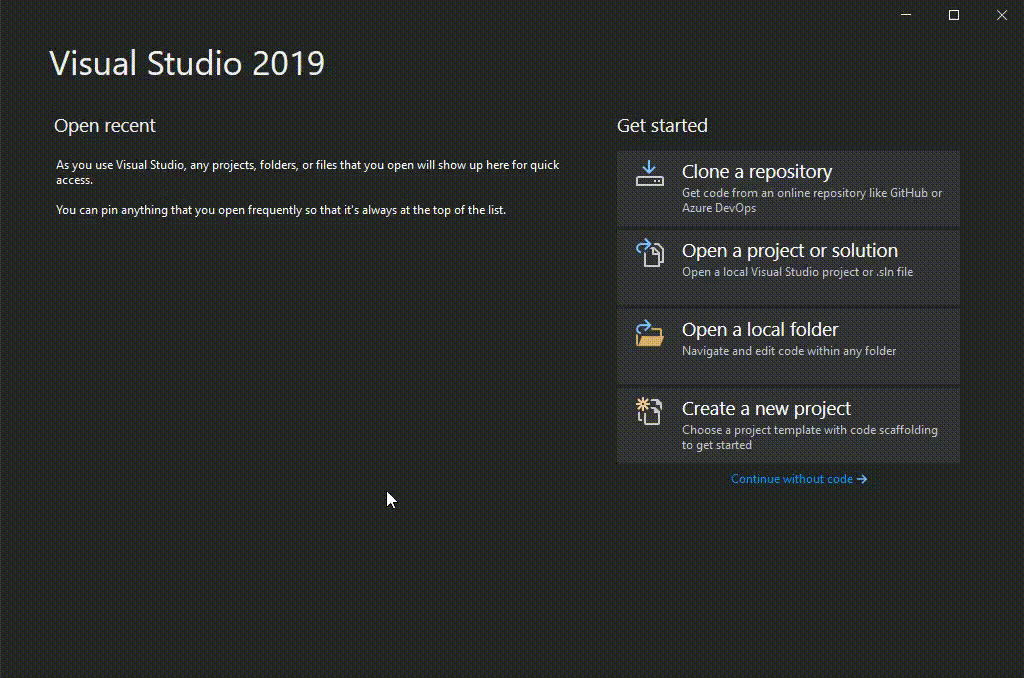
Open Visual Studio 2019 (or 2017). This bring us a new window as shown in below image.

-
In this window, we need to select “Create a new project” option as shown in below image.

-
This will open a new window of “Create a new project” as shown in below image.

-
In this window, we need to apply filter for “Prism” project by type “Prism” in filter section as shown in below images.

-
After applying this filter ‘select’ “Prism Blank App (WPF)” option from list and press “Next” as shown in below image.

-
This will open a new window of “Configure your new project” as shown in below image.

-
In this new window, we define “Project Name”. For project name we used “OpenSolidworks” value and press “Create” as shown in below image.

-
Pressing “Create” button open a new window of “PRISM PROJECT WIZARD”. In this window select “CREATE PROJECT” button as shown in below image.

This will open a new window as shown in below image.

BUILD SOLUTION
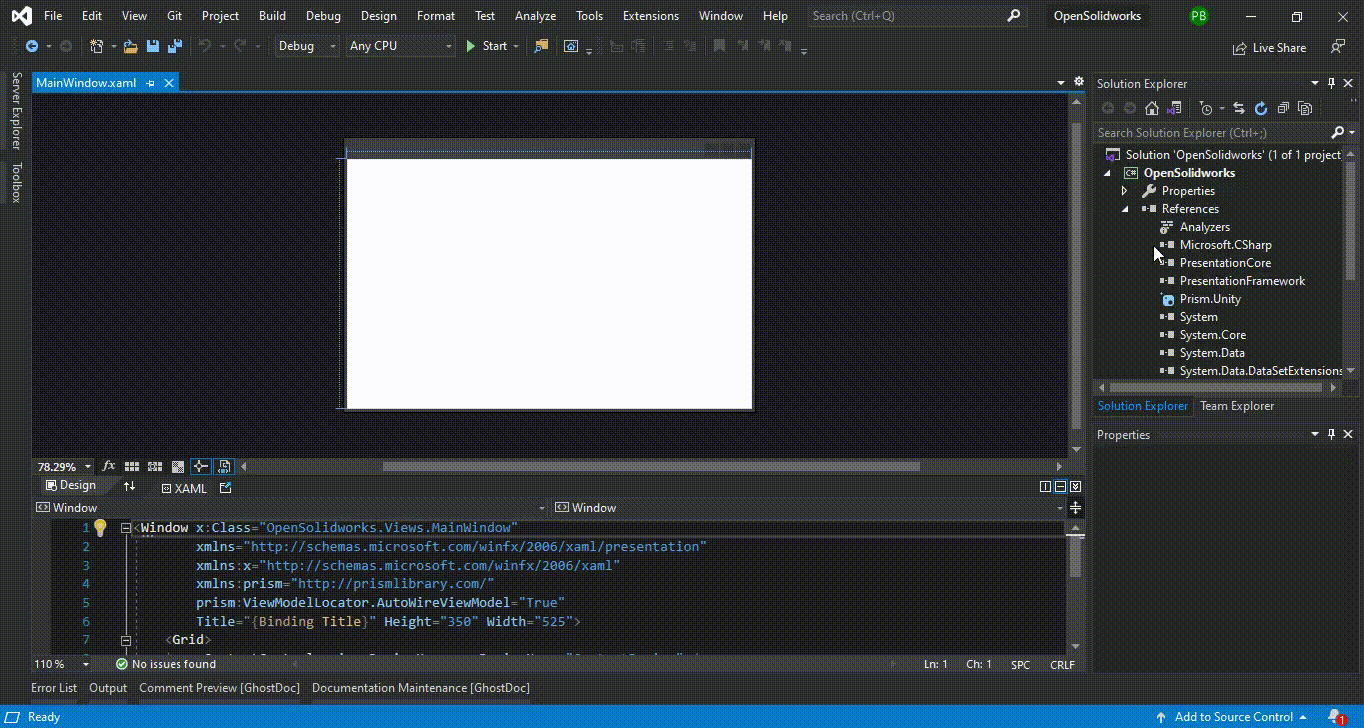
After we create our “OpenSolidworks” project, we need to select “Build Solution” option.
We build our solution because we want to make sure everything is working and there are no broken references.
Please see below image for reference.

Below image show MainWindow.xaml file before building solution.

Below image show MainWindow.xaml file after building solution.

ADD BUTTON TO WINDOW
To add button in window, we need to update MainWindow.xaml file as shown in below image.
Understand what we have changed.
WindowStartupLocation="CenterScreen"
Above code help us show window at center of screen.
<Button Content="Open Solidworks"
        Width="250"
        Height="100" />
Above code add button to our window.
In above code we set 3 properties as follows:
-
Content="Open Solidworks" -
Width="250" -
Height="100"
Below image shows above parameters.

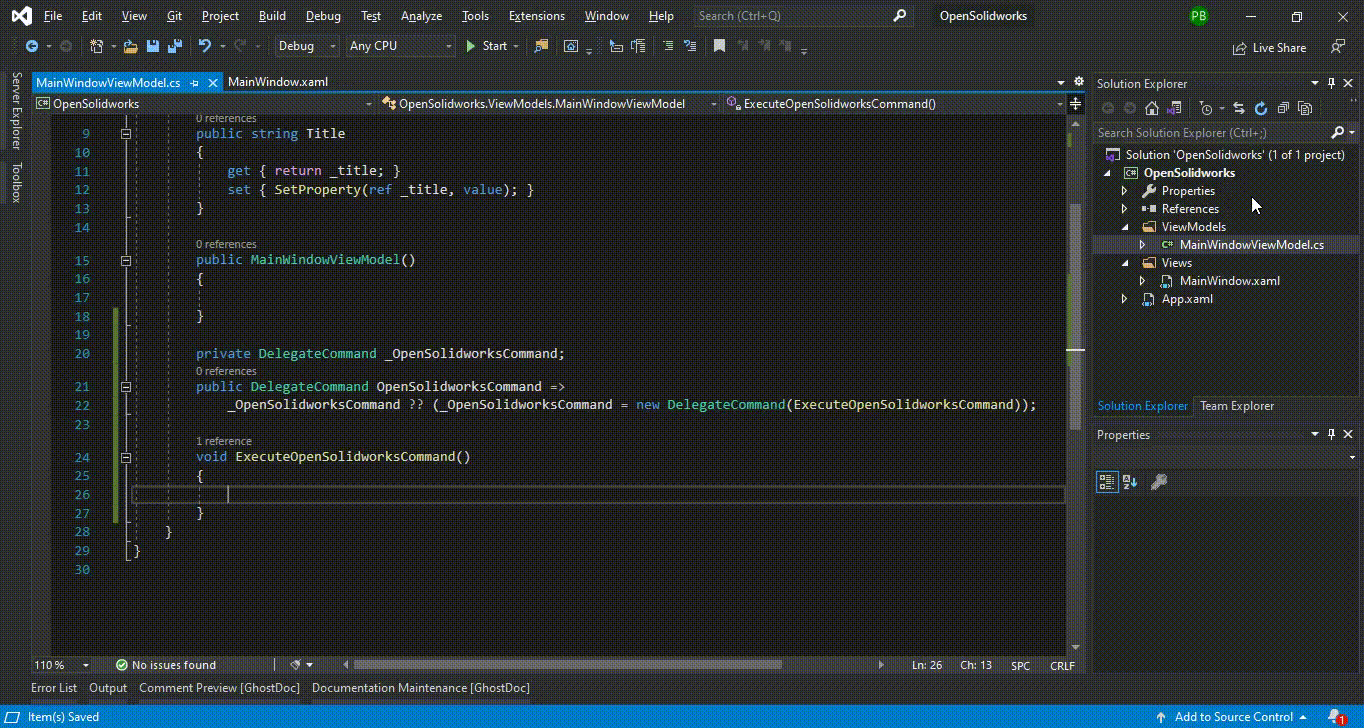
ADD COMMAND TO VIEWMODEL
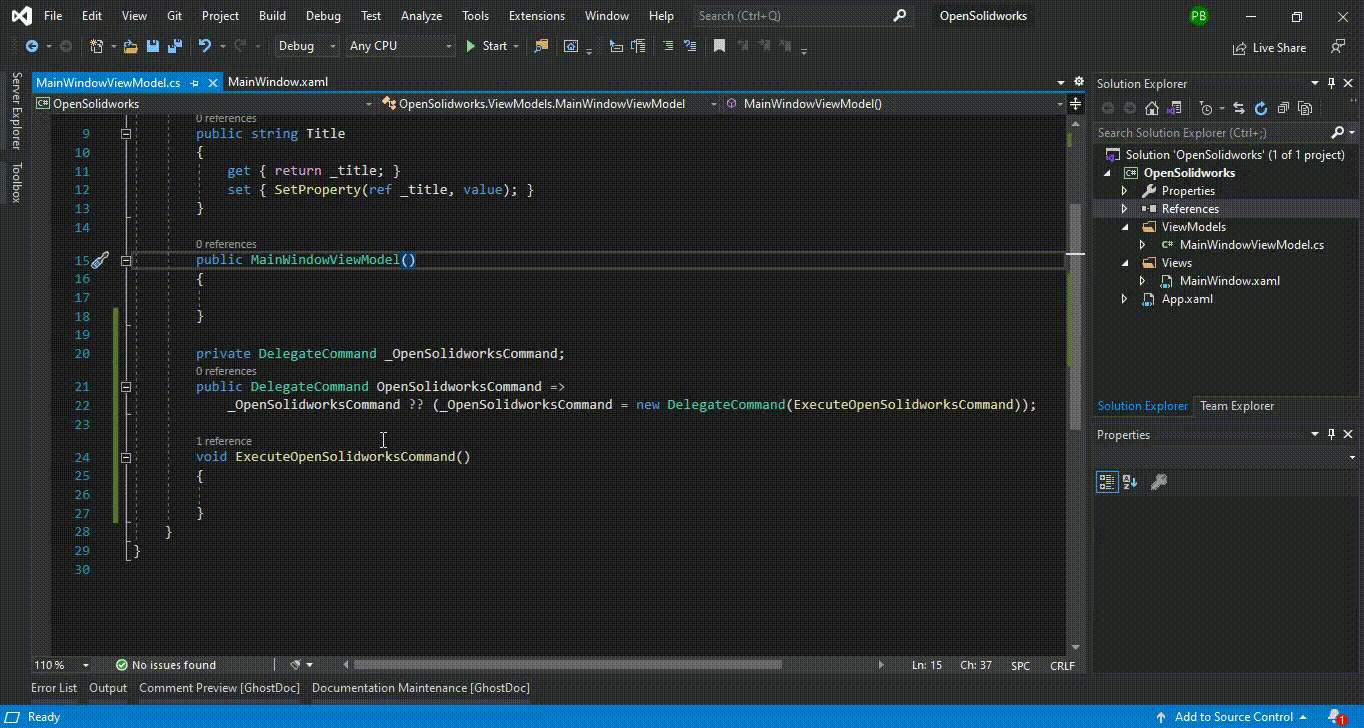
Now we need to add Prism Command to our MainWindowViewModel.cs file as shown in below image.
In MainWindowViewModel.cs file, we add Prism Command by cmd code snippet.
Using this code snippet, we add following code.
private DelegateCommand _OpenSolidworksCommand;
public DelegateCommand OpenSolidworksCommand =>
    _OpenSolidworksCommand ?? (_OpenSolidworksCommand = new DelegateCommand(ExecuteOpenSolidworksCommand));

void ExecuteOpenSolidworksCommand()
{

}
In above code, we use DelegateCommand Prism Command from Prism.Command namespace.
Please forgive me, I am not able to explained Prism Command correctly.
private DelegateCommand _OpenSolidworksCommand;
public DelegateCommand OpenSolidworksCommand =>
    _OpenSolidworksCommand ?? (_OpenSolidworksCommand = new DelegateCommand(ExecuteOpenSolidworksCommand));
Above line of code shows Prism Commands.
For more detail about Prism Commands please visit below video.
void ExecuteOpenSolidworksCommand()
{

}
Above code shows function we execute when command is run.
ADD SOLIDWORKS REFERENCES
For opening SOLIDWORKS we need to add some references into our project.
Please see below image for how to add SOLIDWORKS reference.
OPEN SOLIDWORKS
Now for opening SOLIDWORKS we need to add following code as shown in below image.
void ExecuteOpenSolidworksCommand()
{
    // Create a new SOLIDWORKS instance
    SldWorks.SldWorks swApp = new SldWorks.SldWorks();

    // Make solidworks visible
    swApp.Visible = true;
}
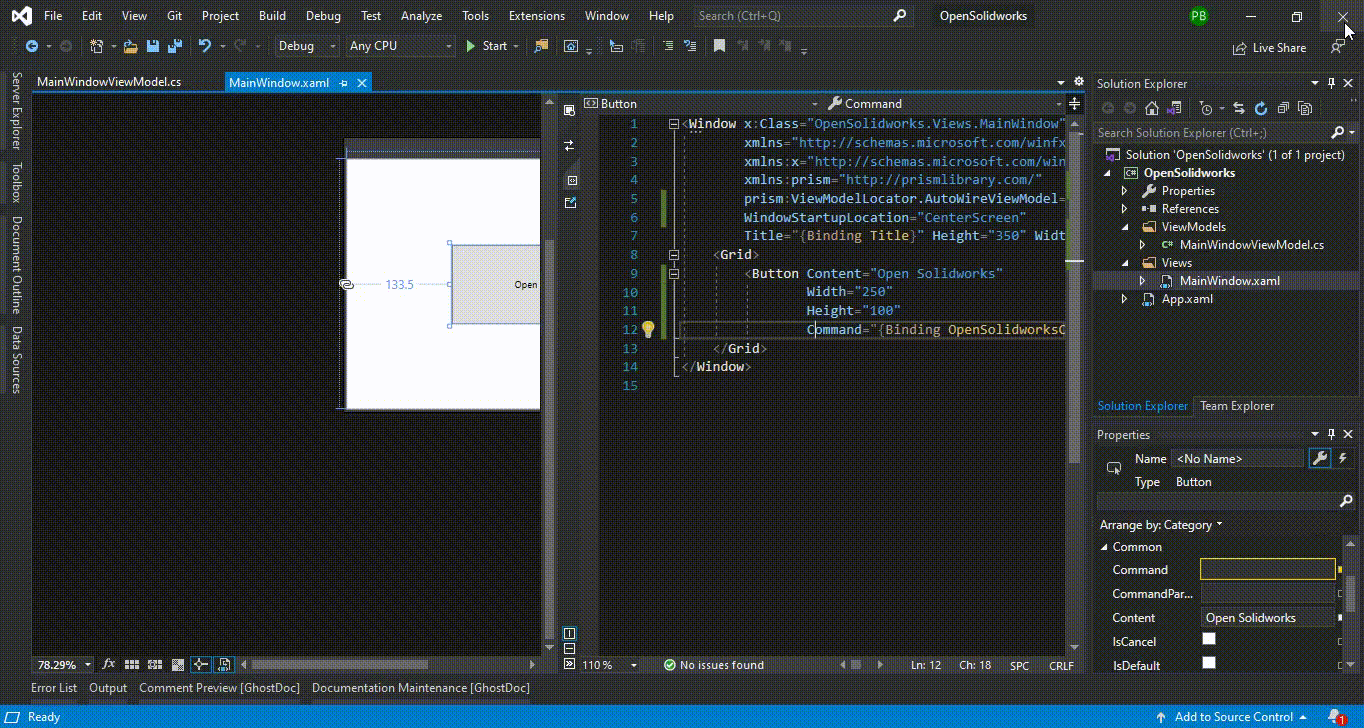
ADD COMMAND TO BUTTON
Now we need to Bind our OpenSolidworksCommand command to button as shown in below image.

FINAL RESULT
Now, we have done everything needed to Open SOLIDWORKS through our application.
Please see below image for final result of our work.
As you can see from above image, we have done followings:
- Build Solution as shown in below image.
- Start app as shown in below image.

- By Start app we have a window, in this window we need to press “Open Solidworks” button as shown in below image.

This is it !!!
I hope my efforts will helpful to someone!
If you found anything to add or update, please let me know on my e-mail.
Hope this post helps you to Open SOLIDWORKS from WPF PRISM Application.
If you like the post then please share it with your friends also.
Do let me know by you like this post or not!
Till then, Happy learning!!!