SOLIDWORKS C# API - Open SOLIDWORKS Document
How to Open SOLIDWORKS Document using SOLIDWORKS C# API from WPF Prism Desktop Application.
I hope you have installed Visual Studio Community Edition on your machine.
If not then please go to 🚀 SOLIDWORKS C# API - Prerequisite post and watch the suggested videos before proceeding further.
DEMO VIDEO
Please see below video on how to “Open SOLIDWORKS Document” using SOLIDWORKS C# API from WPF Prism Desktop Application.
Open SOLIDWORKS Document
Please note that there are no explanations in the video.
Explanation of each step, and why we write code this way, is given in this post.
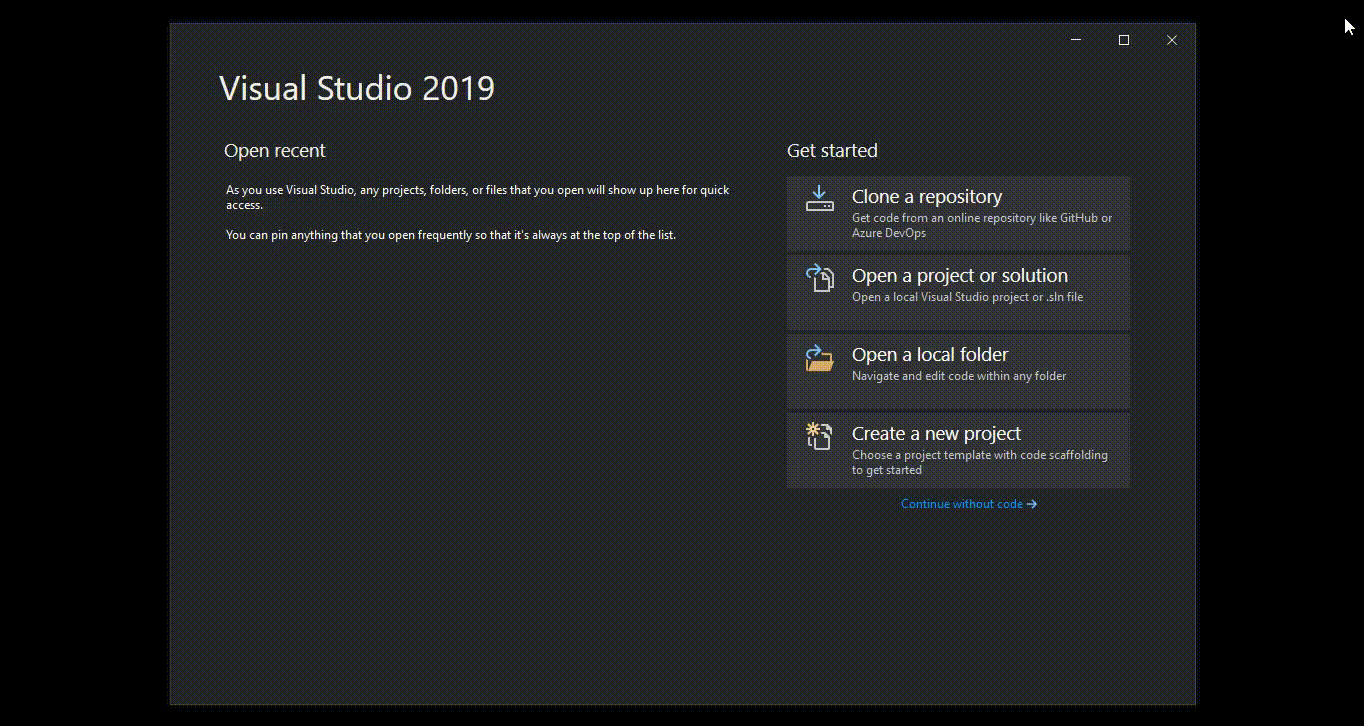
CREATE A NEW PRISM PROJECT
In the below image I have shown you how to create a new Prism project.
All the steps have already been explained in SOLIDWORKS C# API - Open SOLIDWORKS
article.
This will open a new window as shown in below image.

BUILD SOLUTION
After we create our “OpenSolidworksDocument” project, we need to select “Build Solution” option as shown in below image.

WHY WE BUILD SOLUTION ?
We build our solution because we want to make sure everything is working and there are no broken references.
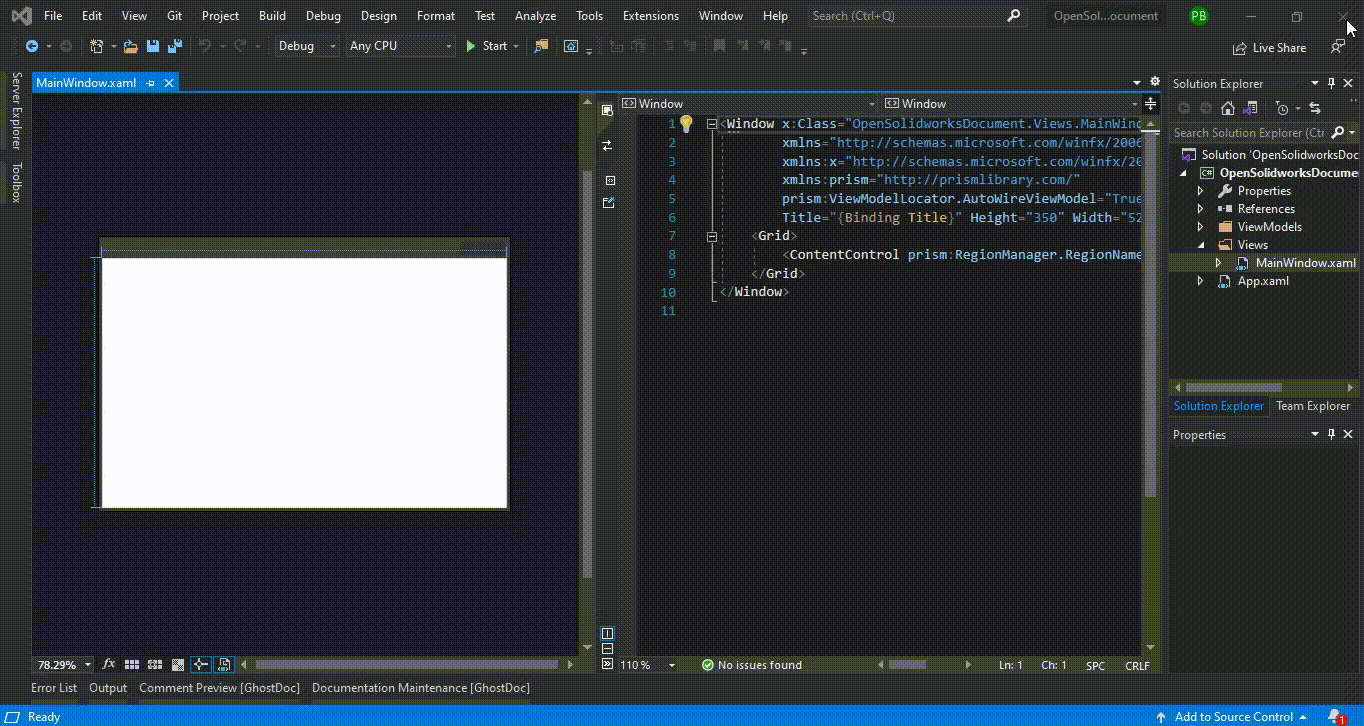
Below image show MainWindow.xaml file before building solution.

Below image show MainWindow.xaml file after building solution.

ADD USER INTERFACE CONTROLS
Below we add some UI control for user interaction.
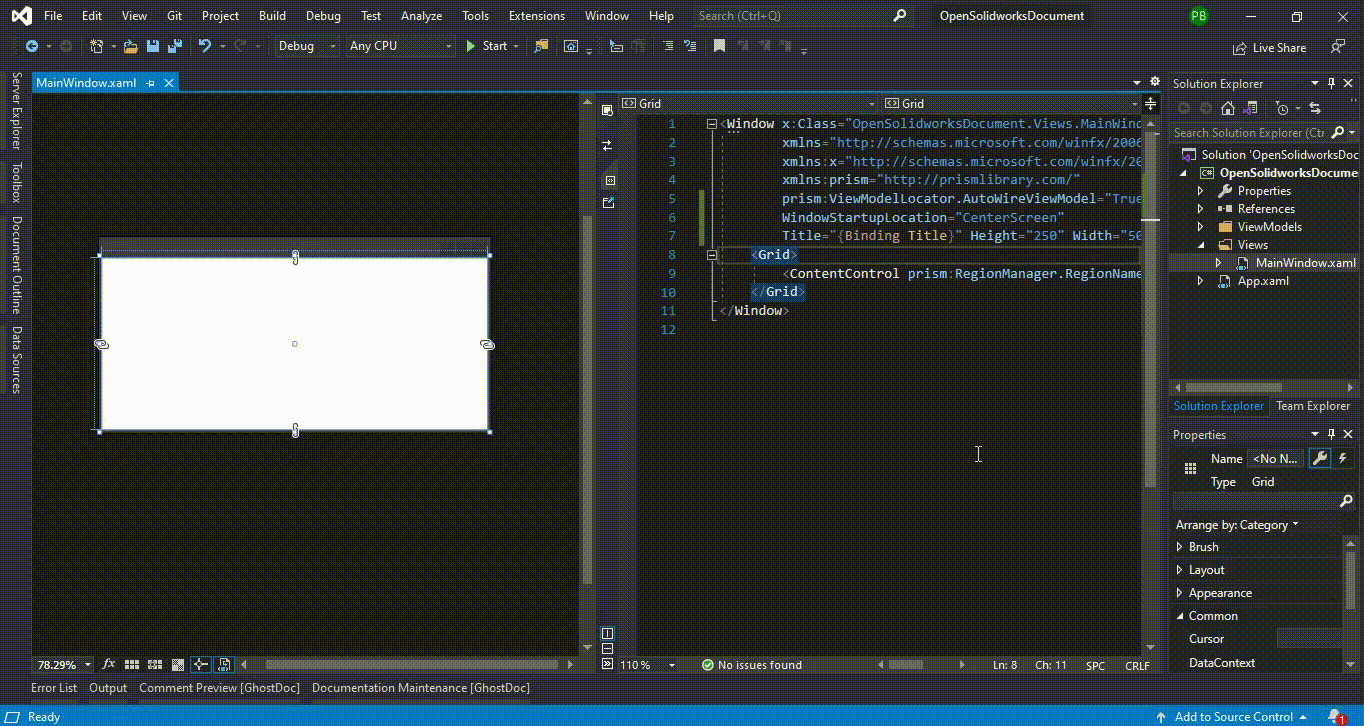
UPDATE WINDOW START-UP LOCATION AND HEIGHT/WIDTH
In below image, we update ‘Start-up location’ and ‘Width & Height’ of our window.
First we update Start-up location of window by adding following line.
WindowStartupLocation="CenterScreen"
After this, we update window’s Height and Width to following values.
Height="250" Width="500"
REMOVE CONTENT CONTROL
In below image we remove ContentControl Tag in Grid.
Also, we change Grid to StackPanel for helding our UI Controls.
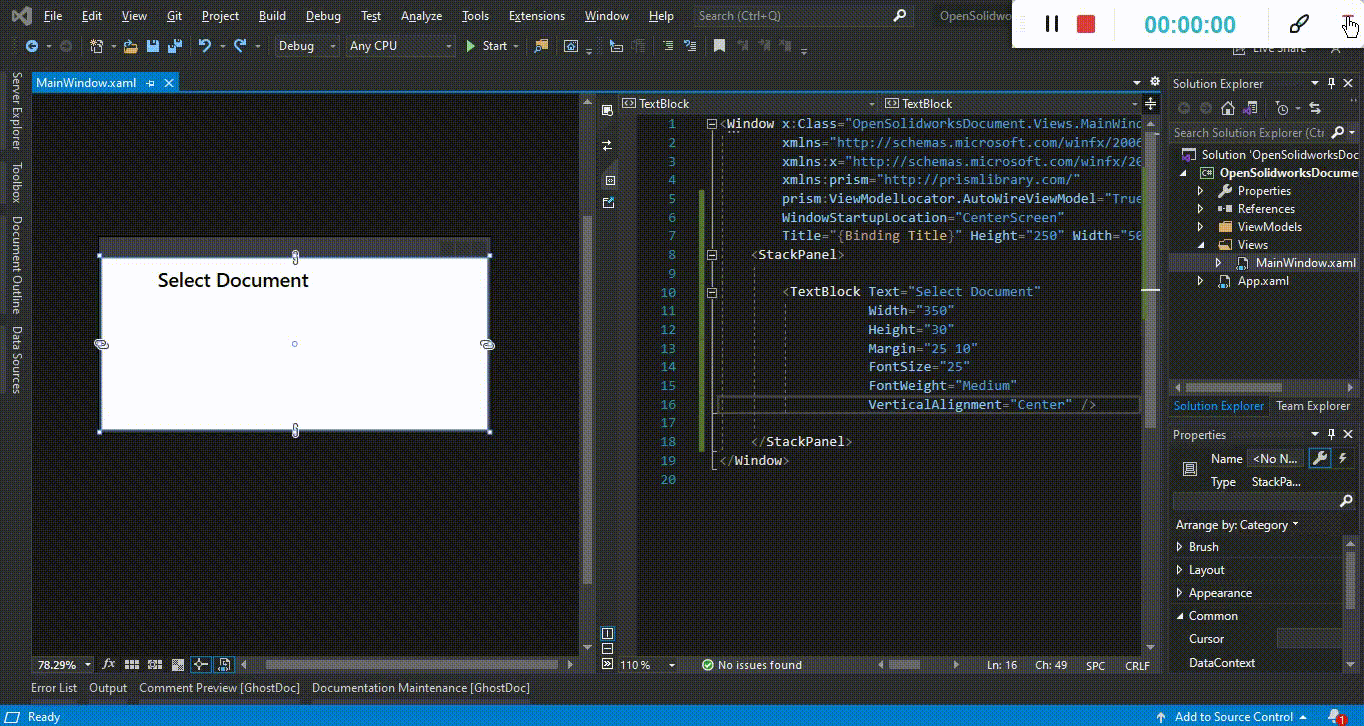
ADD TEXTBLOCK FOR SELECTING DOCUMENT
In below image we add TextBlock inside StackPanel for indicating user to select a document.

TextBlock with Text and other properties are given below.
<TextBlock Text="Select Document"
           Width="350"
           Height="30"
           Margin="25 10"
           FontSize="25"
           FontWeight="Medium"
           VerticalAlignment="Center" />
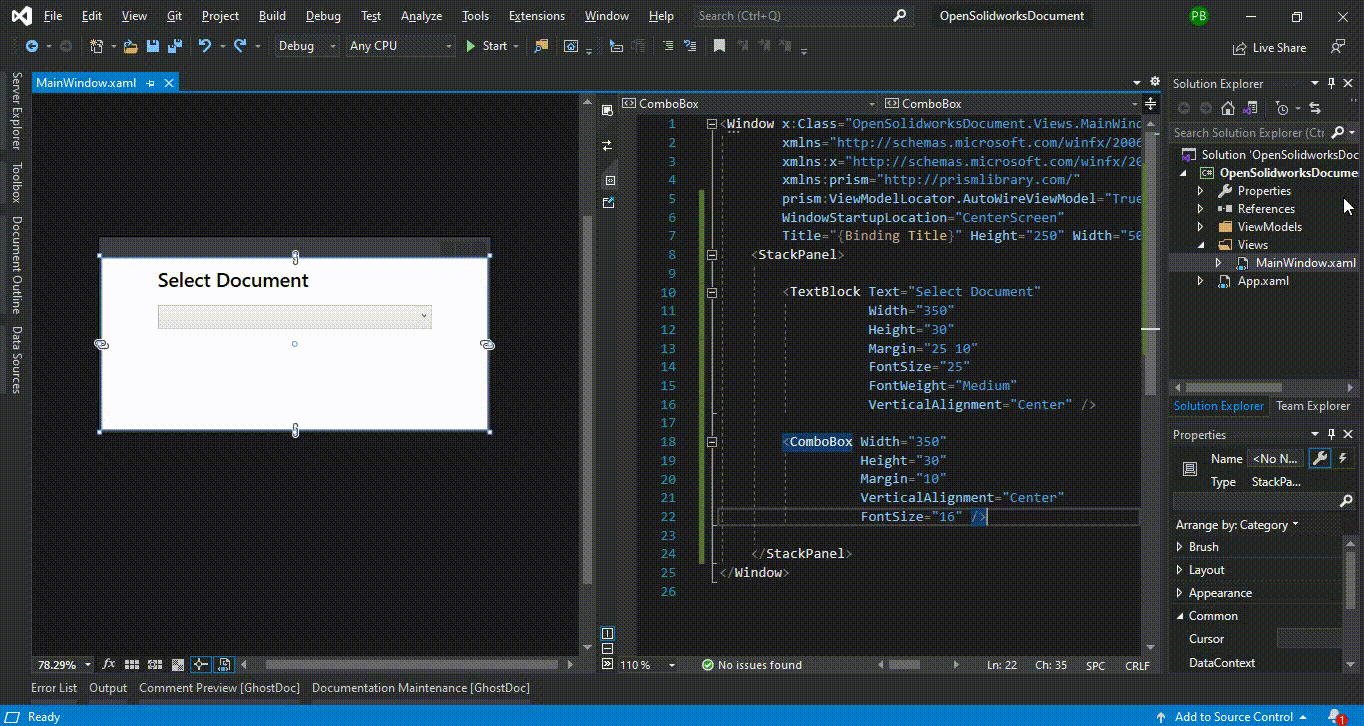
ADD COMBOBOX FOR DOCUMENTS LIST
In below image we add ComboBox inside StackPanel for holding our list of SOLIDWORKS documents.
ComboBox with set properties are given below.
<ComboBox Width="350"
          Height="30"
          Margin="10"
          VerticalAlignment="Center"
          FontSize="16" />
ADD BUTTON FOR SELECTED DOCUMENT
In below image we add Button to open selected SOLIDWORKS document.
Button with Content and other properties are given below.
<Button Width="350"
        Height="50"
        FontSize="18"
        FontWeight="Medium"
        Content="Open Solidworks" />
UPDATE VIEWMODEL
Now, we update our MainWindowViewModel viewmodel, for showing data and adding functionalities.
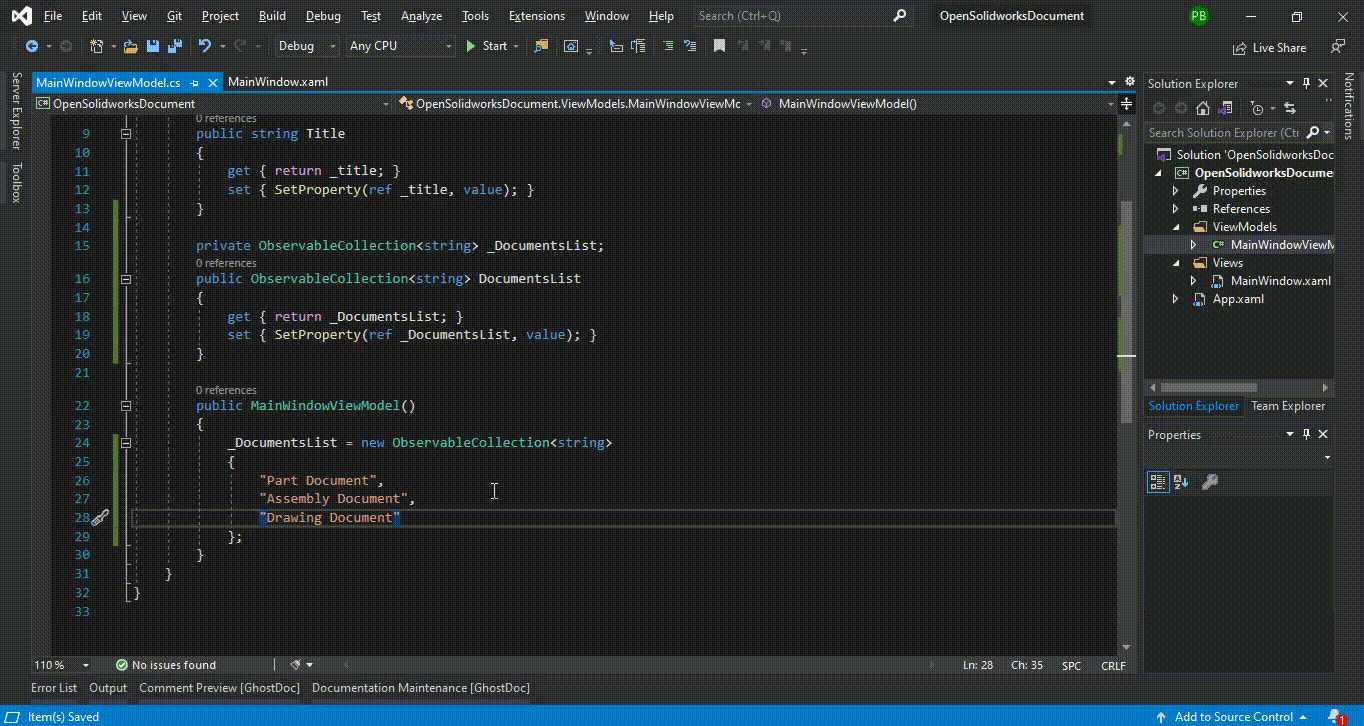
ADD DOCUMENTS LIST
In below image we a list of SOLIDWORKS document in MainWindowViewModel.
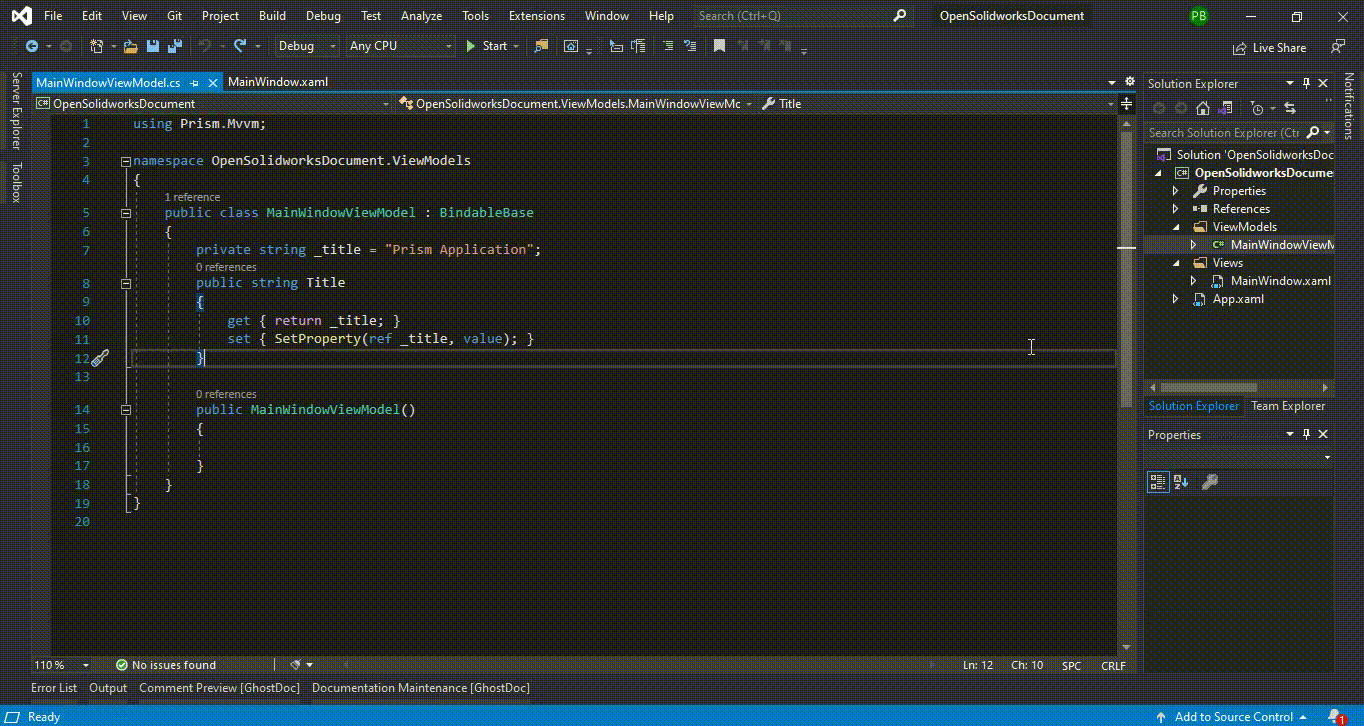
For this we use below code.
private ObservableCollection<string> _DocumentsList;
public ObservableCollection<string> DocumentsList
{
    get { return _DocumentsList; }
    set { SetProperty(ref _DocumentsList, value); }
}
In above code, _DocumentsList is private member of our MainWindowViewModel class, whose value we set in the Constructor of MainWindowViewModel class.
DocumentsList will use for Binding document list to our ComboBox as ItemSource.
Here we use ObservableCollection<T> because of MVVM.
For more details please visit 🚀 this link .
public MainWindowViewModel()
{
    _DocumentsList = new ObservableCollection<string>
    {
        "Part Document",
        "Assembly Document",
        "Drawing Document"
    };
}
In above code, we add SOLIDWORKS documents into our _DocumentsList list.
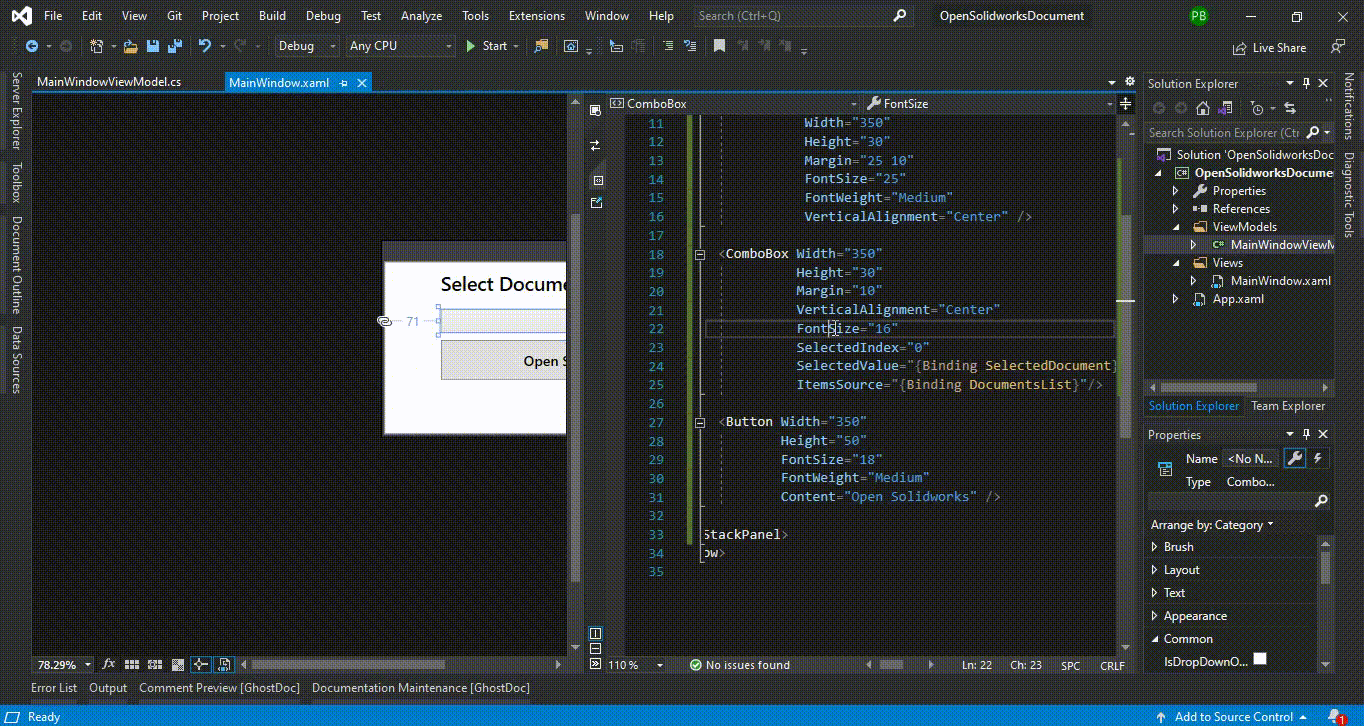
BINDING DOCUMENT LIST TO COMBOBOX
In below image we Bind our document list i.e. DocumentsList to ComboBox as ItemSource.
For Binding DocumentsList we add following line.
ItemsSource="{Binding DocumentsList}"
After this update our ComboBox looks like as:
<ComboBox Width="350"
          Height="30"
          Margin="10"
          VerticalAlignment="Center"
          FontSize="16"
          ItemsSource="{Binding DocumentsList}" />
When we Run our code, we get following window.

As I have mentioned in above image, if there are no item selected, we will get error when we click “Open Solidworks” button.
To avoid this error we define SelectedIndex property of ComboBox to 0.
After this update our ComboBox looks like as:
<ComboBox Width="350"
          Height="30"
          Margin="10"
          VerticalAlignment="Center"
          FontSize="16"
          SelectedIndex="0"
          ItemsSource="{Binding DocumentsList}" />
When we Run our code, we get following window.

ADD SELECTED VALUE IN COMBOBOX
In our program, we want to open selected SOLIDWORKS Document.
To get the selected value, we need a property i.e. SelectedDocument in our MainWindowViewModel ViewModel and bind this property to SelectValue property of ComboBox.
For more details please see below image.

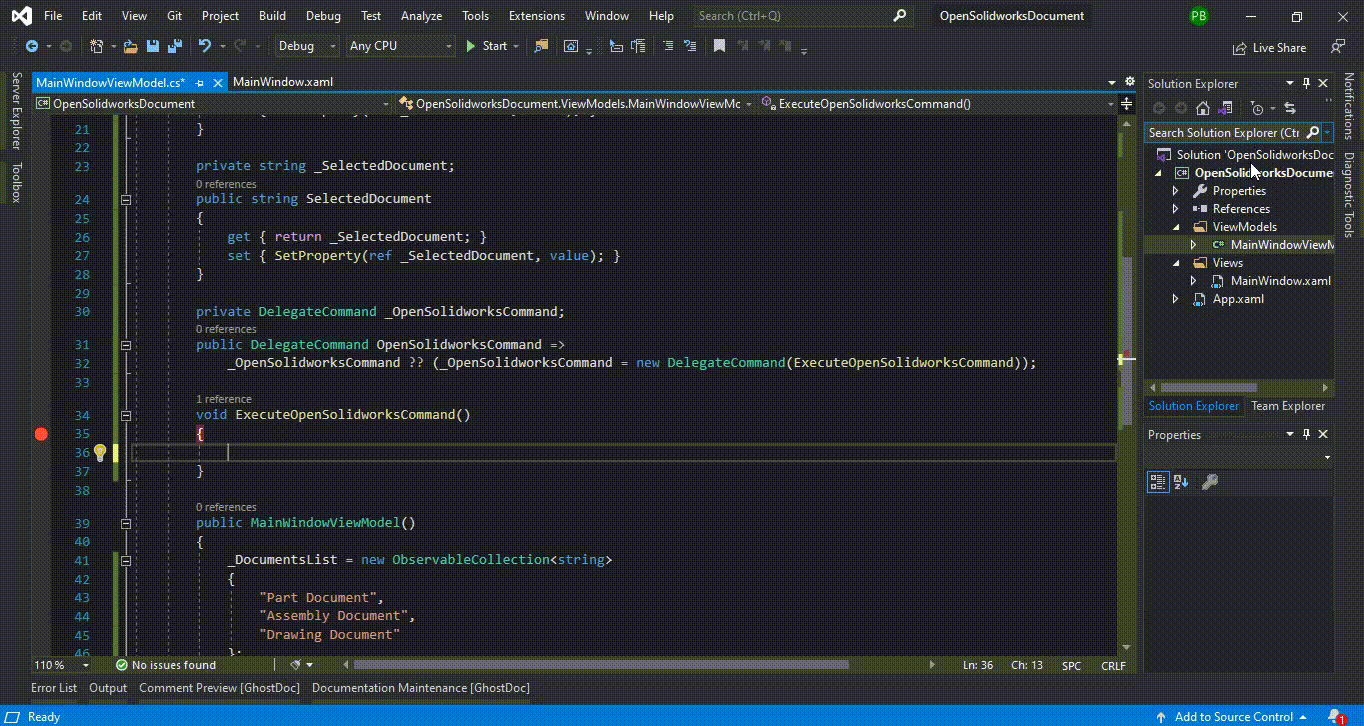
ADD COMMAND TO VIEWMODEL
In our application to open selected SOLIDWORKS document, we need add a Command to our button.
For this we need to do following:
-
We need to create a Prism Command i.e.
OpenSolidworksCommandinMainWindowViewModelViewModel. -
Bind this
OpenSolidworksCommandto our button.
In below we see how to do this, also we checked the selected value.
ADD SOLIDWORKS REFERENCES
For opening SOLIDWORKS we need to add some references into our project.
Please see below image for how to add SOLIDWORKS reference.
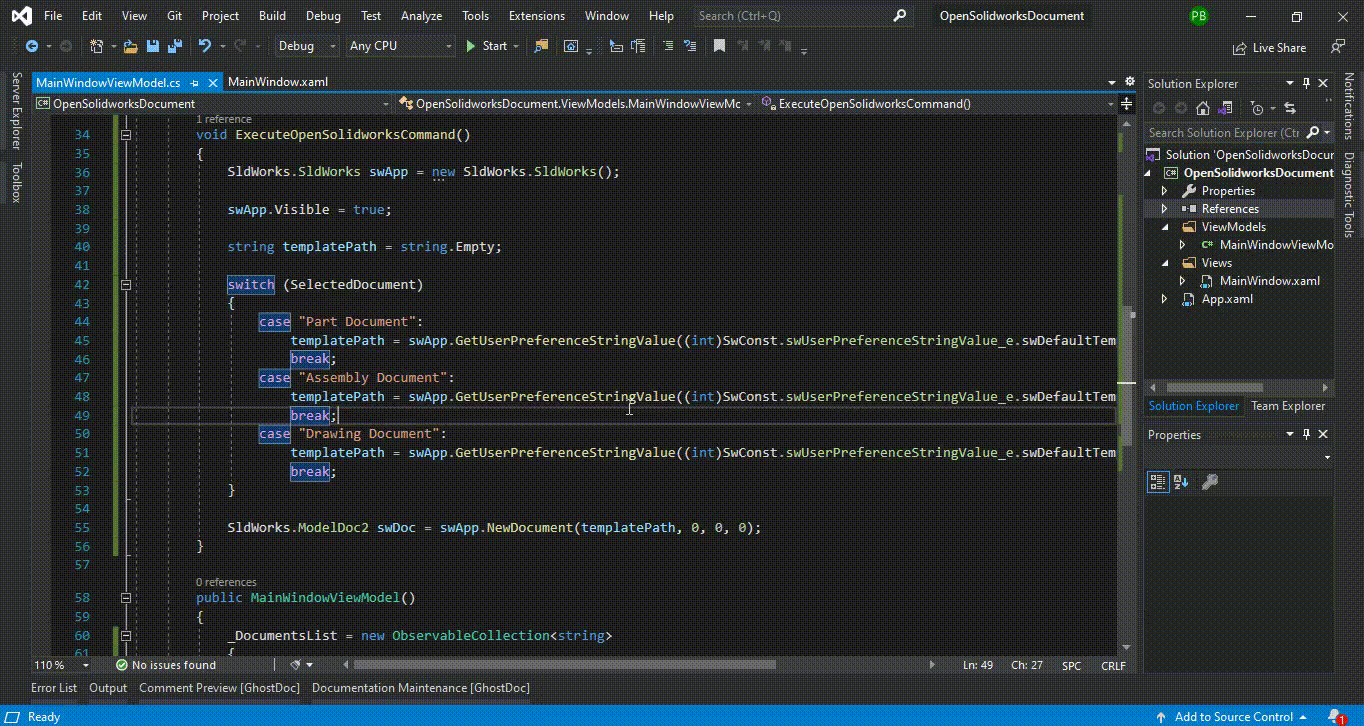
OPEN SOLIDWORKS DOCUMENT
Now for opening SOLIDWORKS Document we need to add following code as shown in below image.
void ExecuteOpenSolidworksCommand()
{
    // Create a new Instance of Solidworks Application
    SldWorks.SldWorks swApp = new SldWorks.SldWorks();

    // Make Solidworks visible
    swApp.Visible = true;

    // Variable to hold selected document's template path
    string templatePath = string.Empty;

    // Switch Conditional Statement
    switch (SelectedDocument)
    {
        case "Part Document":
            // Get default Part template path
            templatePath = swApp.GetUserPreferenceStringValue(
                (int)SwConst.swUserPreferenceStringValue_e.swDefaultTemplatePart);
            break;

        case "Assembly Document":
            // Get default Assembly template path
            templatePath = swApp.GetUserPreferenceStringValue(
                (int)SwConst.swUserPreferenceStringValue_e.swDefaultTemplateAssembly);
            break;

        case "Drawing Document":
            // Get default Drawing template path
            templatePath = swApp.GetUserPreferenceStringValue(
                (int)SwConst.swUserPreferenceStringValue_e.swDefaultTemplateDrawing);
            break;
    }

    // Create a new Document as ModelDoc2 object
    SldWorks.ModelDoc2 swDoc = swApp.NewDocument(templatePath, 0, 0, 0);
}
FINAL RESULT
Now, we have done everything needed to Open SOLIDWORKS Document through our application.
Please see below image for final result of our work.
This is it !!!
I hope my efforts will helpful to someone!
If you found anything to add or update, please let me know on my e-mail.
Hope this post helps you to Open SOLIDWORKS Documents from WPF PRISM Application.
If you like the post then please share it with your friends also.
Do let me know by you like this post or not!
Till then, Happy learning!!!
Till then, Happy learning!!!