Wix Add Menu Folder Icon
In this article we create Menu Folder Icon when MSI install application.
Please see below 👇🏻 image of Menu Folder Icon for reference.
Update [ExampleComponents.wxs]
Below image show content of ExampleComponents.wxs
<Wix xmlns="http://wixtoolset.org/schemas/v4/wxs">
  <Fragment>
    <ComponentGroup Id="ApplicationComponents" Directory="INSTALLFOLDER">
      <Component Guid="{68655BE8-9EF3-432E-B13B-9F7F08555AAE}" Directory="INSTALLFOLDER">
        <File Id="ApplicationFile" Source="WPF_Application.exe">
          <Shortcut Id="DesktopShortCut"
                    Directory="DesktopFolder"
                    Advertise="yes"
                    Icon="icon.exe"
                    Name="!(bind.Property.ProductName)" />
        </File>
      </Component>
    </ComponentGroup>
  </Fragment>
</Wix>
Add Menu Folder Icon
<Wix xmlns="http://wixtoolset.org/schemas/v4/wxs">
  <Fragment>
    <ComponentGroup Id="ApplicationComponents" Directory="INSTALLFOLDER">
      <Component Directory="INSTALLFOLDER">
        <!--Add output file-->
        <File Id="ApplicationFile" Source="WPF_Application.exe">
          <!--Add Desktop Shortcut-->
          <Shortcut Id="DesktopShortCut"
                    Directory="DesktopFolder"
                    Advertise="yes"
                    Icon="icon.exe"
                    Name="!(bind.Property.ProductName)" />
          <!--Add Menu Folder Shortcut-->
          <Shortcut Id="ProgramMenuIcon"
                    Advertise="yes"
                    Directory="APPFOLDER"
                    Icon="icon.exe"
                    Name="!(bind.Property.ProductName)">
          </Shortcut>
        </File>
      </Component>
    </ComponentGroup>
  </Fragment>
</Wix>
In above code sample, we “Add Menu Folder Shortcut”.
For this we use <Shortcut> tag.
Please see below 👇🏻 code for reference.
After adding <Shortcut> tag, we define some properties of <Shortcut> tag.
Please see below list of properties for <Shortcut> tag.
| Property Name | Property Description |
|---|---|
Id
| Identifier for this tag, by which we can refer to this tag. |
Directory
| Special Id, which define Directory where we want to show our shortcut. |
Advertise
| Boolean variable which decide we want to advertise this shortcut or not. |
Icon
| Id of Icon image. Please note that this is Id “NOT source of icon image”. |
Name
| Name of Icon which we want to show with Icon image. |
Values we used in our code.
| Property Name | Value Used | Value Comment |
|---|---|---|
Id
|
ProgramMenuIcon
| Id which I give. |
Directory
|
APPFOLDER
| Special Id for Application Folder. Since we want to create Program Menu Folder Shortcut. |
Advertise
|
yes
| Always ‘Yes’ since this is the easy way. |
Icon
|
icon.exe
|
Reference to Id of image in Package.wxs file.
|
Name
|
!(bind.Property.ProductName)
| Bind of Shortcut name to Product Name. |
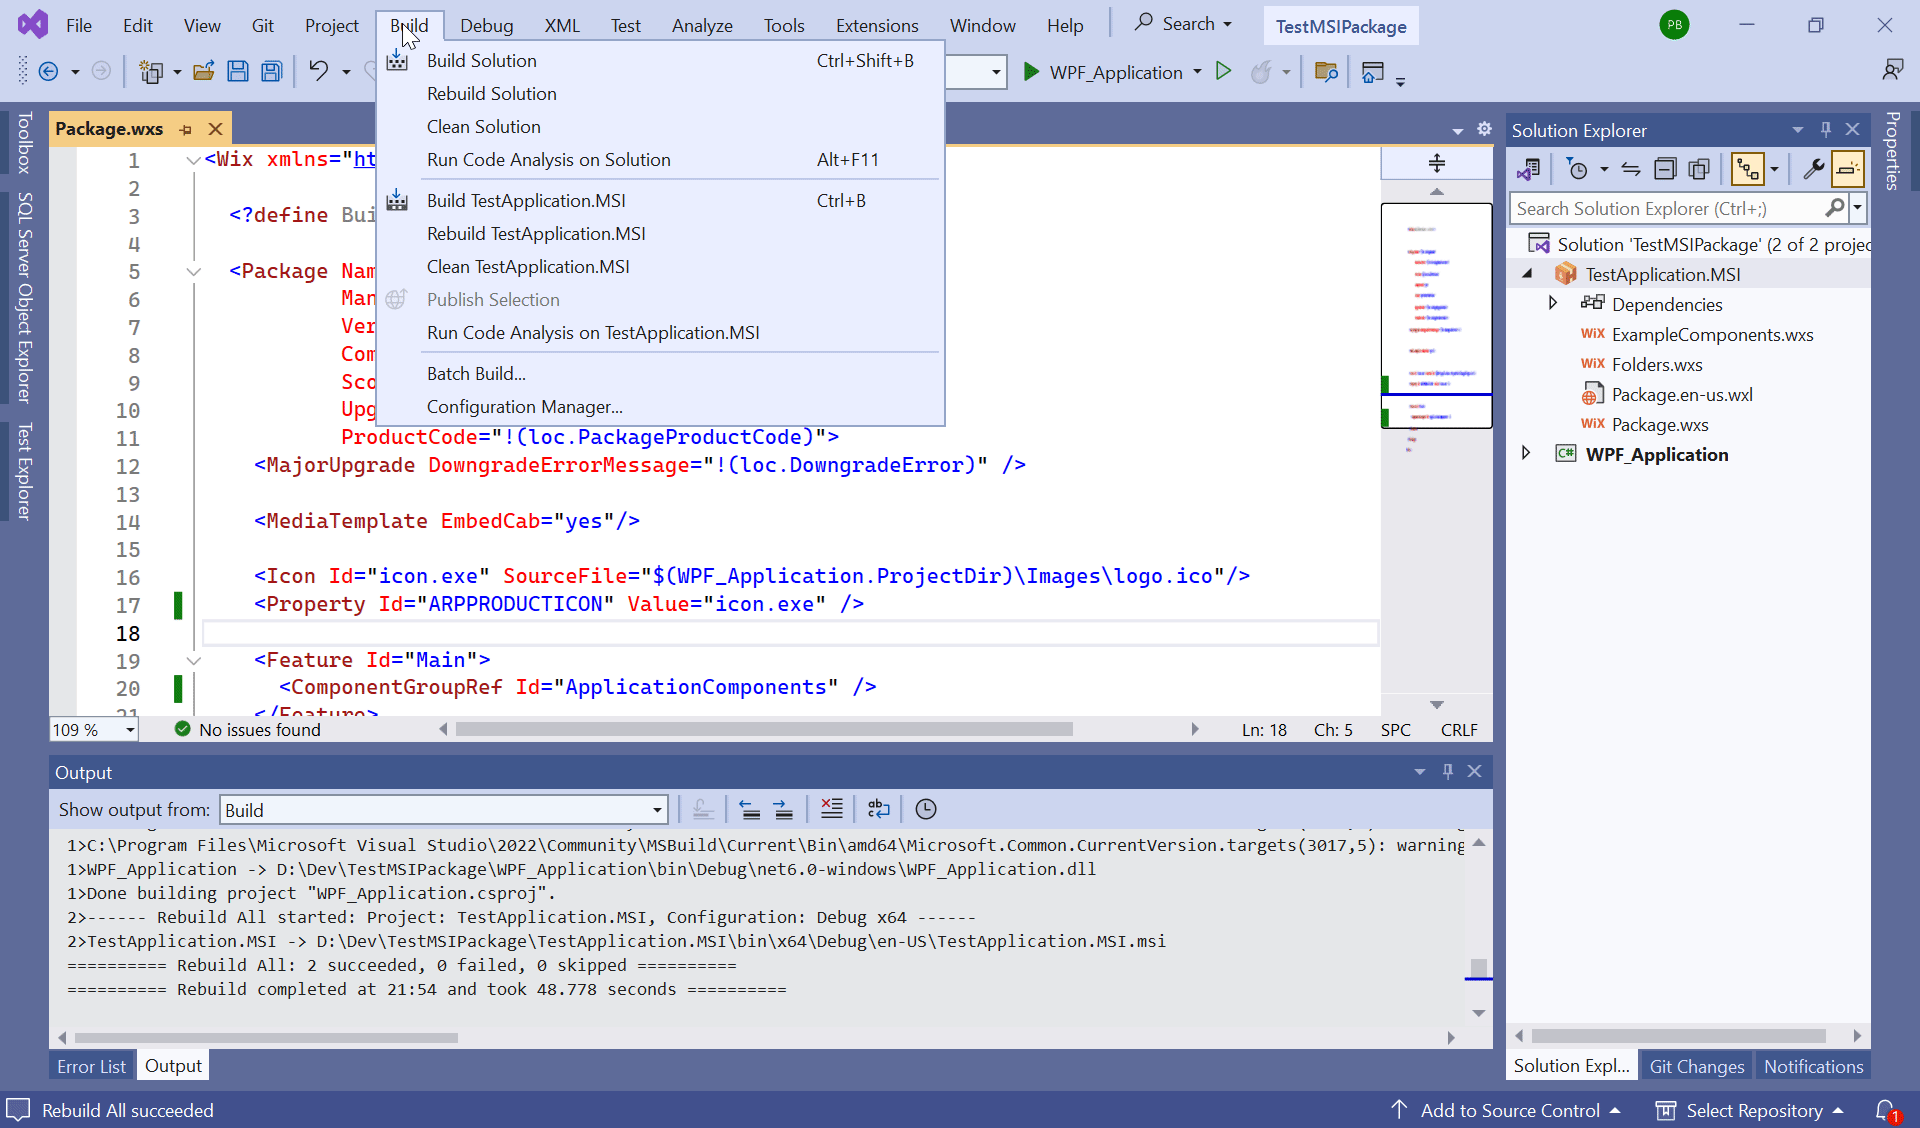
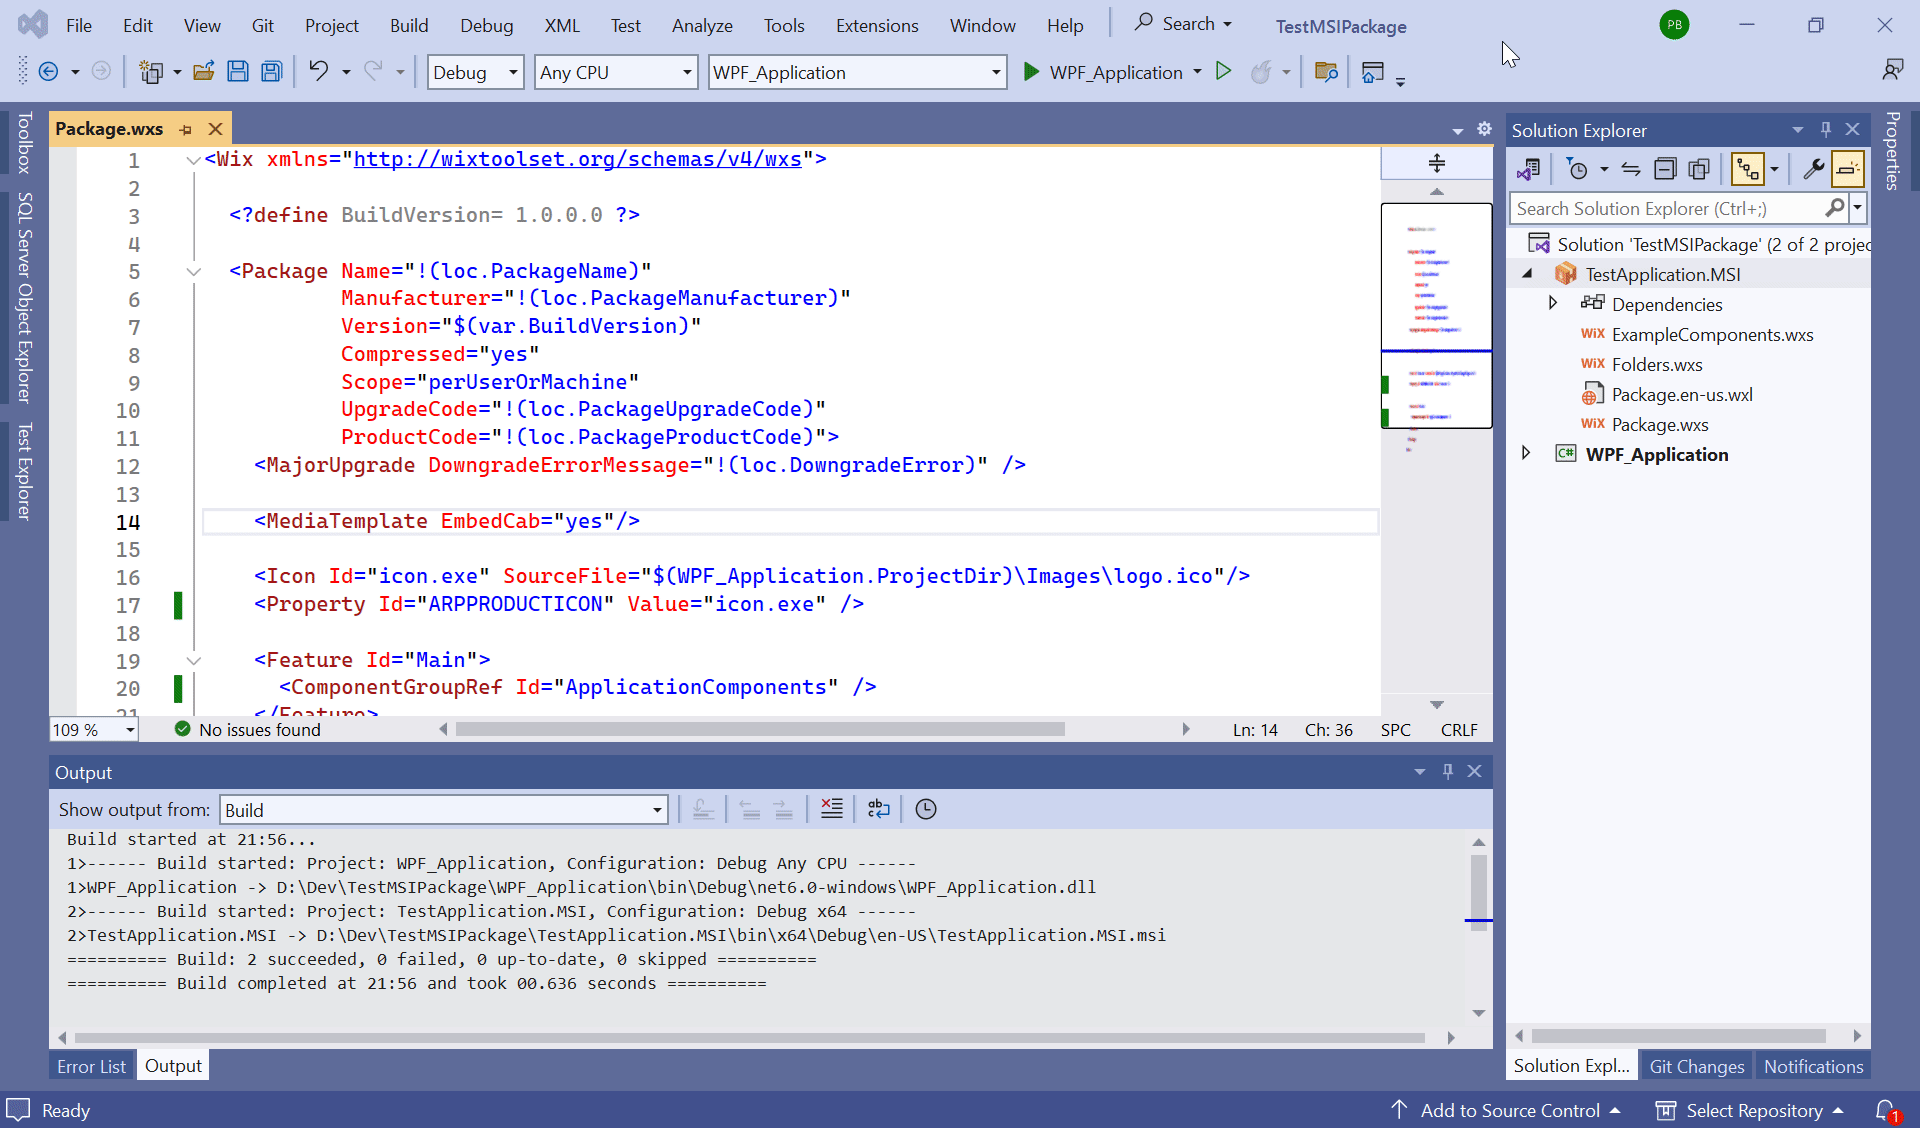
[Build] Solution
Now we need to build solution as shown below.
After building solution we need to go to folder where MSI is created.
Please see below 👇🏻 image for reference.
Final Result
Run the MSI to install application.
Below 👇🏻 image show final result after running installation.
That’s it!!!
Hope this post helps you.
If you like the post then please share it with your friends also.
Do let me know by you like this post or not!
Till then, Happy learning!!!